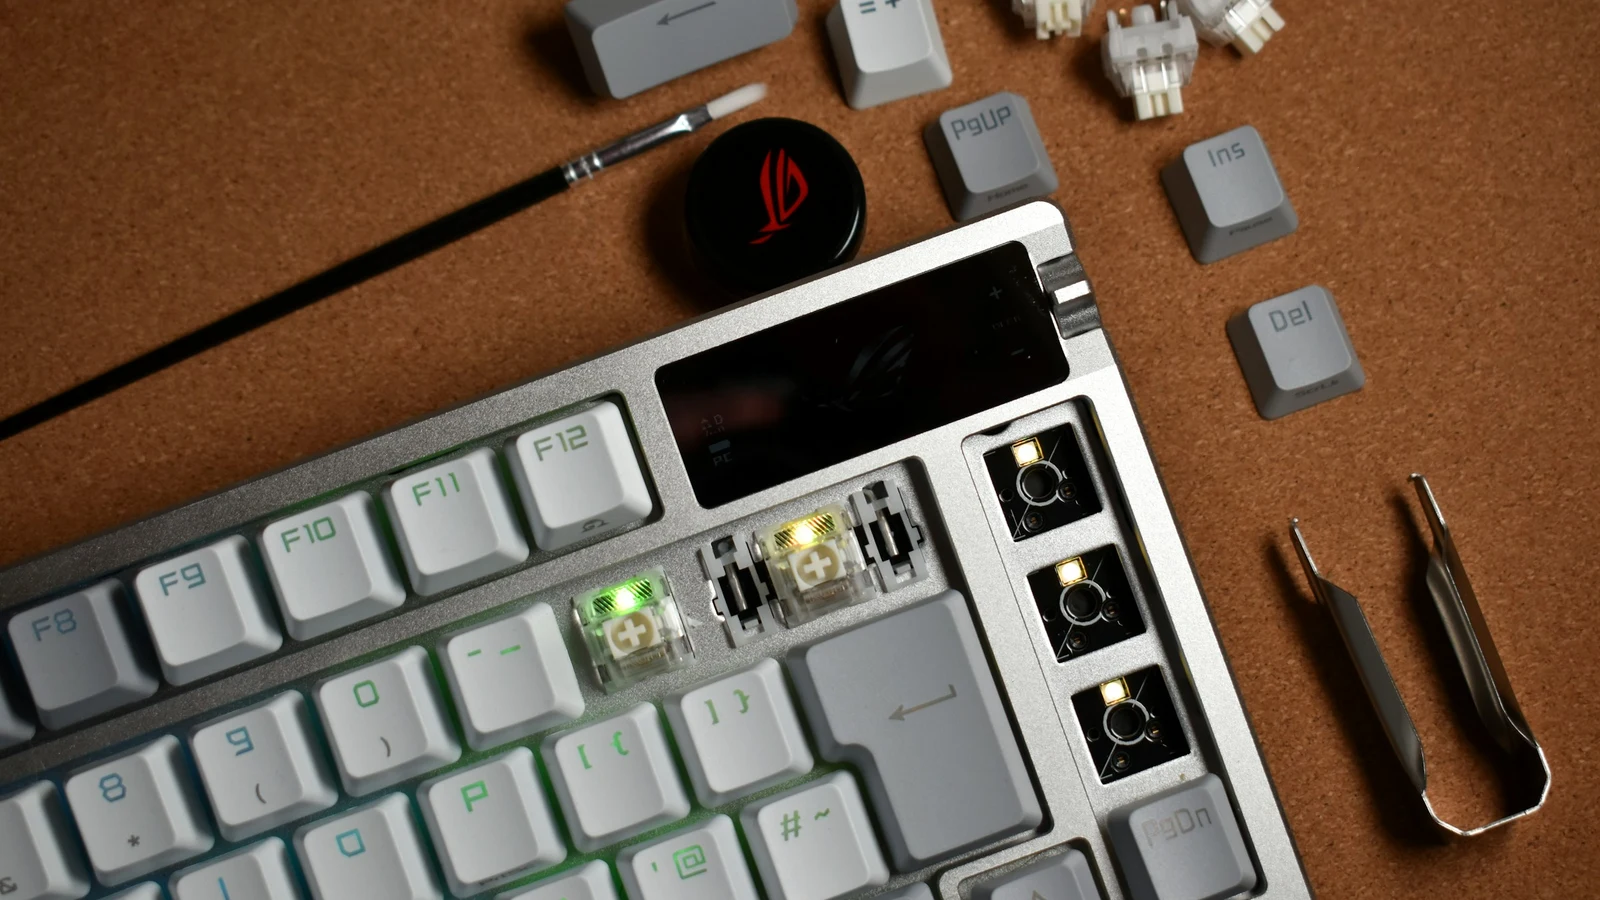
A keyboard fault is easier to solve when you separate the symptom from the cause. One dead key does not prove that the switch is bad, and a dark RGB strip does not necessarily mean the keyboard has lost power.
Start with reversible checks. Change one thing at a time, record what happened, and stop before a cleaning or repair step can create more damage.
Stop first when safety is in doubt
- Liquid, corrosion, heat, smoke, a burning smell, or a swollen battery: disconnect power immediately. Do not reconnect the keyboard to “see if it works.” Let a qualified technician or the manufacturer advise the next step.
- A wireless battery is hot, damaged, or swollen: stop using and charging the keyboard. Do not open or puncture the battery.
- The board is under warranty: avoid opening the case, desoldering, or applying liquids. Document the symptom and contact the seller or manufacturer.
- A repair requires mains power, damaged lithium cells, or equipment you do not understand: stop and seek qualified help.
Do not spray liquid cleaner into a switch or PCB. Compressed air should be used with the keyboard disconnected, the can upright, and short bursts from a sensible distance.
Quick symptom map
| Symptom | Possible causes | First check |
|---|---|---|
| One key never registers | Keycap interference, switch, socket, diode, or remap | Test the key in a plain text field and compare its physical travel with a neighboring key |
| One press produces two characters | Switch chatter, contamination, or debounce behavior | Check whether the same key repeats across different devices |
| An entire row or column fails | Cable, connector, PCB trace, diode, or firmware | Test after reconnecting, then note the exact pattern before opening anything |
| The computer does not detect the board | Cable, port, hub, mode, battery, or firmware | Try a known data cable and a direct port |
| A long key rattles | Stabilizer fit, wire, housing, or keycap | Press the key at both ends and compare the sound |
| RGB is dark but typing works | Brightness, profile, software, LED setting, or LED fault | Check lighting controls and whether all or only some LEDs are affected |
The keyboard is not detected
Wired checks
- Disconnect and reconnect the keyboard at both ends.
- Try a known data-capable cable if the cable is detachable. A cable can provide power without carrying data.
- Connect directly to the computer instead of through a hub, dock, or monitor.
- Try another USB port and test the keyboard on another computer if available.
- Check whether the board has a physical cable, wireless, or operating-mode switch.
- If the board was recently flashed, use its documented reset or bootloader procedure instead of trying unrelated firmware.
If the board works on another computer, the keyboard is less likely to be the root cause. Check the original computer’s layout, permissions, drivers, or USB power behavior without assuming the switch hardware failed.
Wireless checks
- Charge the keyboard using the manufacturer’s recommended method.
- Confirm that the keyboard is in the intended Bluetooth, 2.4 GHz, or wired mode.
- Remove the old Bluetooth pairing and pair again if the connection is stale.
- For a receiver, reconnect the dongle directly and check that it belongs to this keyboard.
- Test with RGB and animations turned off. A power budget issue can look like a connection problem on battery-powered boards.
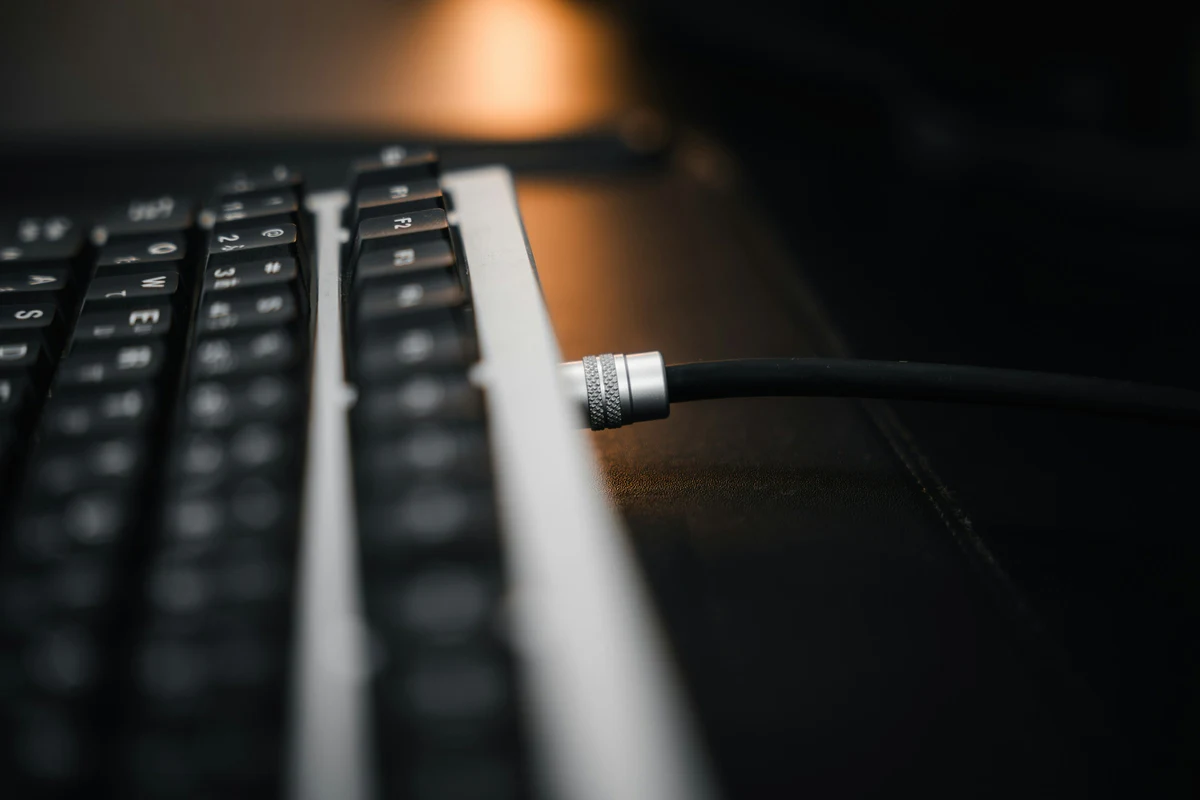
Stop and seek support if the USB connector is loose, hot, visibly damaged, or accompanied by a burning smell.
One key does not register
First test the key in a simple text field or keyboard tester. If the problem appears only in one application, inspect that application’s shortcut or input settings before opening the keyboard.
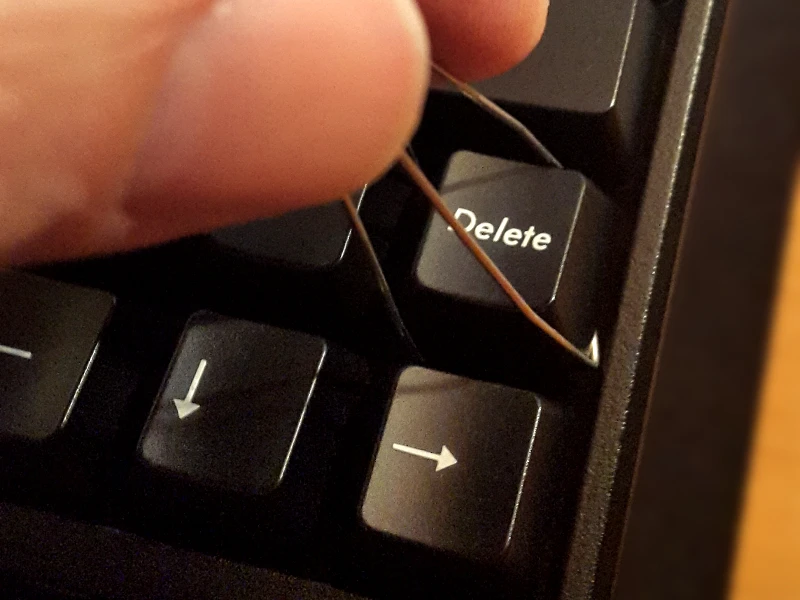
- Remove the keycap with a suitable puller, pulling straight up rather than twisting.
- With the keyboard disconnected, check whether the switch stem moves freely and returns to its normal position.
- Reconnect and test the bare switch only if the board and test method are safe and accessible.
- On a hot-swap board, compare the problem switch with a known-good compatible switch. Power off before removing or inserting a switch, and check that its pins are straight.
- On a soldered board, do not pull the switch out. A socket, diode, solder joint, or PCB trace may need inspection by someone equipped to solder.

If a whole row or column is affected, or if the fault began after a spill or impact, stop at the external checks. A repeated pattern points more strongly to a circuit, connector, or firmware issue than to several unrelated switches failing at once.
A key types twice or repeats
This symptom is commonly called chatter. The symptom is repeated registration from one press. Possible causes include worn contacts, debris, an unsuitable switch, or firmware debounce behavior.
Try, in order:
- Confirm the same key repeats in more than one application or on another computer.
- Remove the keycap and use short bursts of dry compressed air with the keyboard disconnected. Do not flood the switch with cleaner.
- If the board has a supported firmware setting, review debounce options. VIA may expose keymap and lighting controls without exposing every firmware setting, so do not assume a VIA menu exists.
- Replace the switch on a hot-swap board with a known-good compatible switch. A soldered board requires desoldering and resoldering.
- If the same key still chatters, contact the manufacturer or arrange a proper repair.
Do not “fix” chatter by repeatedly flashing random firmware. Firmware can mask a worn switch and create a second problem.
A key feels stuck, scratchy, or crooked
- Remove the keycap and check for debris, a bent stem, or an obstruction in the keycap.
- Compare the switch’s travel with a neighboring key. A key that stays down or does not return is a mechanical fault, not simply a sound preference.
- Reseat the keycap straight down. A wrong profile or a keycap with a damaged stem can bind against the switch.
- For scratchiness, do not assume more lubricant is better. Switch lubrication requires the correct product, disassembly, and careful application.
- For a long key, press both ends. Uneven movement or rattling often points to a stabilizer rather than the main switch.
Stop if plastic is cracked, a plate is bent, a switch is stuck after liquid exposure, or removing the part would require force.
Stabilizer rattle and unusual sound
A little sound from a long key is not evidence of an electrical fault. If the key registers normally, first check the keycap fit and whether the stabilizer wire is seated. Cleaning and lubrication can help, but they should be done with compatible materials and with the keyboard disconnected.
For more involved work, use the safe cleaning guidance in keyboard cleaning and maintenance. Do not put oil, water, or household spray onto the PCB.
RGB or backlight problems
If typing works but lighting does not:
- Check brightness, lighting mode, profile, and any hardware shortcut.
- Test with a static, low-brightness color rather than an animation.
- Check whether the problem affects the whole board, one zone, or one LED.
- If the issue follows a saved profile or software setting, restore the board’s default lighting profile.
- On wireless boards, lower brightness or disable effects to distinguish a lighting power limit from an LED fault.
A single dark LED can be a failed LED or connection. An entire dark board can be a setting, firmware, power, or controller issue. See how keyboard RGB works before opening the case.
Programming and firmware changes
After a remap, the key may be working exactly as configured. Check the active layer, host operating-system layout, and any macro or tap-and-hold behavior before declaring the switch dead. Keyboard programming basics explains how to inspect layers and recover safely.
If the keyboard stopped responding after flashing:
- Stop flashing files from other models or revisions.
- Find the exact reset and bootloader instructions for the board.
- Use a wired connection and a stable power source for recovery.
- Keep the original keymap and the manufacturer’s recovery file available.
A controlled, documented recovery attempt is safer than a series of guesses.
When to stop troubleshooting
Stop and seek manufacturer or qualified repair support when:
- the keyboard has had a liquid spill, battery damage, heat, smoke, or a burning smell;
- the PCB, USB connector, socket, or battery is visibly damaged;
- an entire row or column is dead after external checks;
- a soldered repair or trace repair is required and you are not equipped for it;
- the keyboard is under warranty and opening it could affect coverage; or
- the fault remains after a known-good cable, computer, switch, and configuration have been tested.
A safe diagnosis does not require proving the exact failed component. It is enough to identify what the symptom follows, preserve the evidence, and stop before the next step becomes risky.