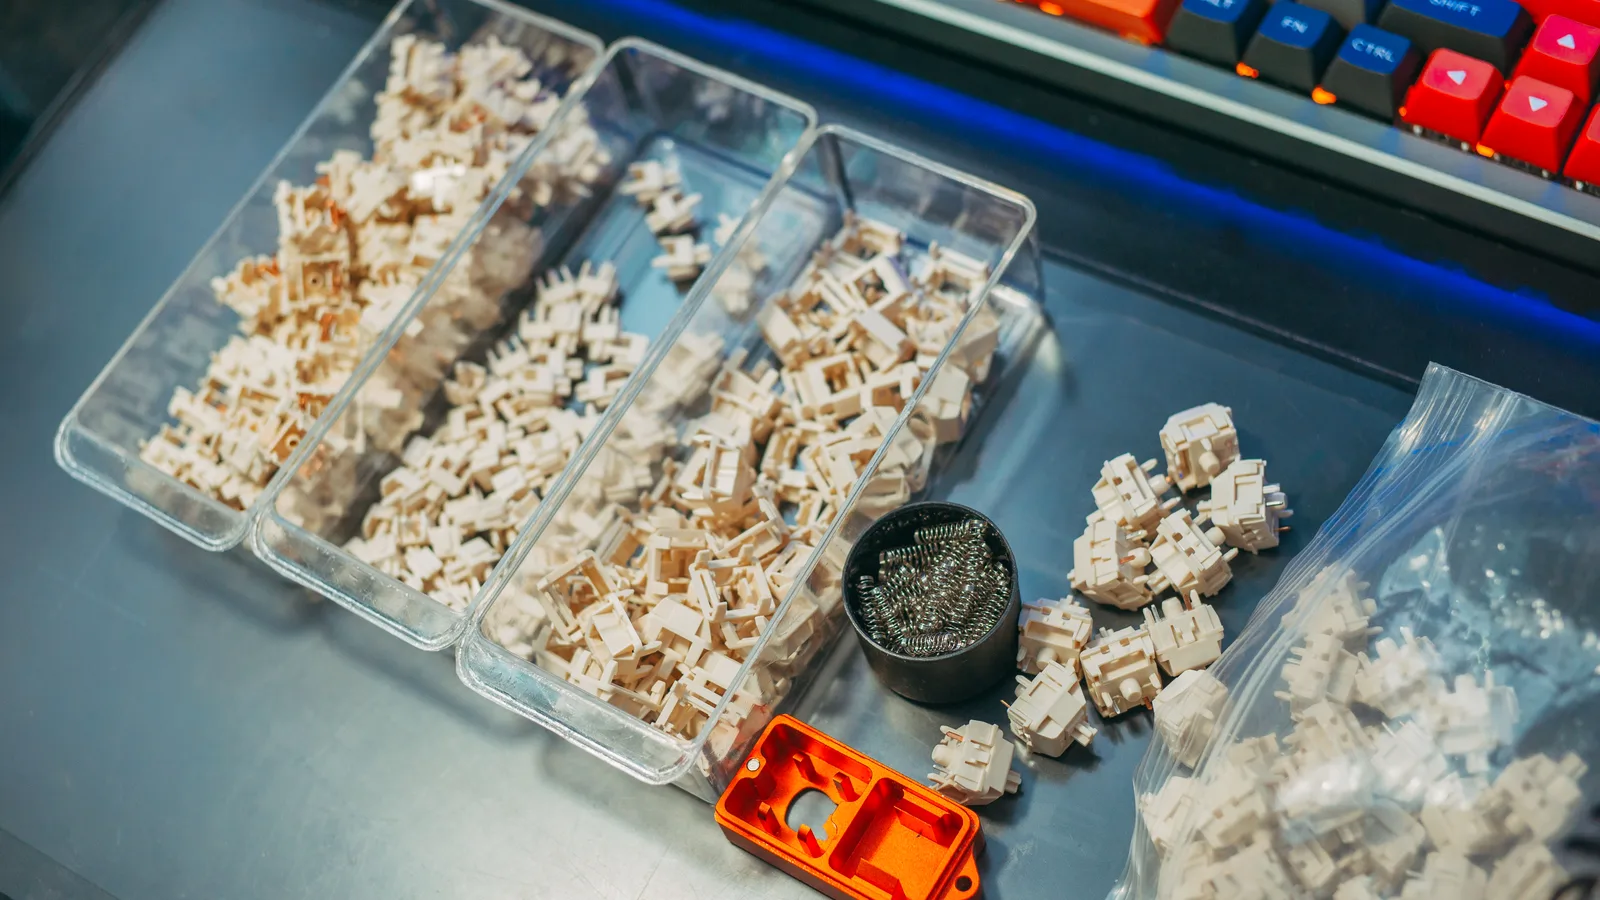
Keyboard modding means changing a board’s sound, feel, appearance, or serviceability after it leaves the factory. The best mods are not the ones that are popular in a video. They are the ones that solve a problem you can describe, are compatible with your board, and can be reversed if you dislike the result.
Start with one change, record what the board sounds and feels like, and test again before stacking another mod on top. That simple method prevents a lot of mystery troubleshooting.
Before you modify anything
- Identify the problem. Is the board hollow, noisy, scratchy, rattly, too stiff, or simply uncomfortable?
- Check the construction. Note whether it is hot-swappable or soldered, wired or wireless, gasket-mounted or rigid, and whether the PCB has a battery or exposed components.
- Back up the firmware. Export your VIA layout or save the current QMK keymap before opening the case.
- Take photos. Photograph cable routing, foam placement, screw lengths, and stabilizer orientation.
- Choose reversible work first. Cleaning, keycaps, a desk mat, and careful stabilizer tuning are safer first experiments than permanent case work.
Disconnect the USB cable before opening the case. For a wireless board, disconnect or remove the battery if the manufacturer allows it. Never work on a powered PCB, and avoid static-prone clothing and carpets when handling electronics.
A practical mod difficulty guide
| Mod | Typical difficulty | Reversible | Main risk |
|---|---|---|---|
| Cleaning and keycap change | Easy | Yes | Moisture or harsh solvent |
| Case foam | Easy | Yes | Pressure on PCB, sockets, or cables |
| Plate foam | Easy to moderate | Yes | Wrong thickness or blocked switch pins |
| Painter’s tape | Easy | Yes | Covering components, heat, or wireless parts |
| Stabilizer tuning | Moderate | Usually | Bent wire, excess grease, damaged screws |
| Switch lubrication | Moderate | Partly | Over-lubrication or lost tactility |
| Switch films or springs | Moderate | Partly | Incompatible parts or inconsistent assembly |
| Soldering and desoldering | Advanced | Not always | Heat damage and lifted pads |
Beginner mod 1: clean and inspect
Dust and dried residue can sound like a switch problem. Remove the keycaps, brush loose debris away from the PCB, and wipe keycaps separately with mild soapy water. Let keycaps dry completely before reinstalling them. Do not spray liquid into switches or onto the PCB, and do not use household oils as lubricant.
While the board is open, look for loose screws, pinched cables, cracked foam, detached hot-swap sockets, and battery swelling. Stop if a battery is swollen or damaged. Do not puncture it or continue using the board.
Beginner mod 2: case foam
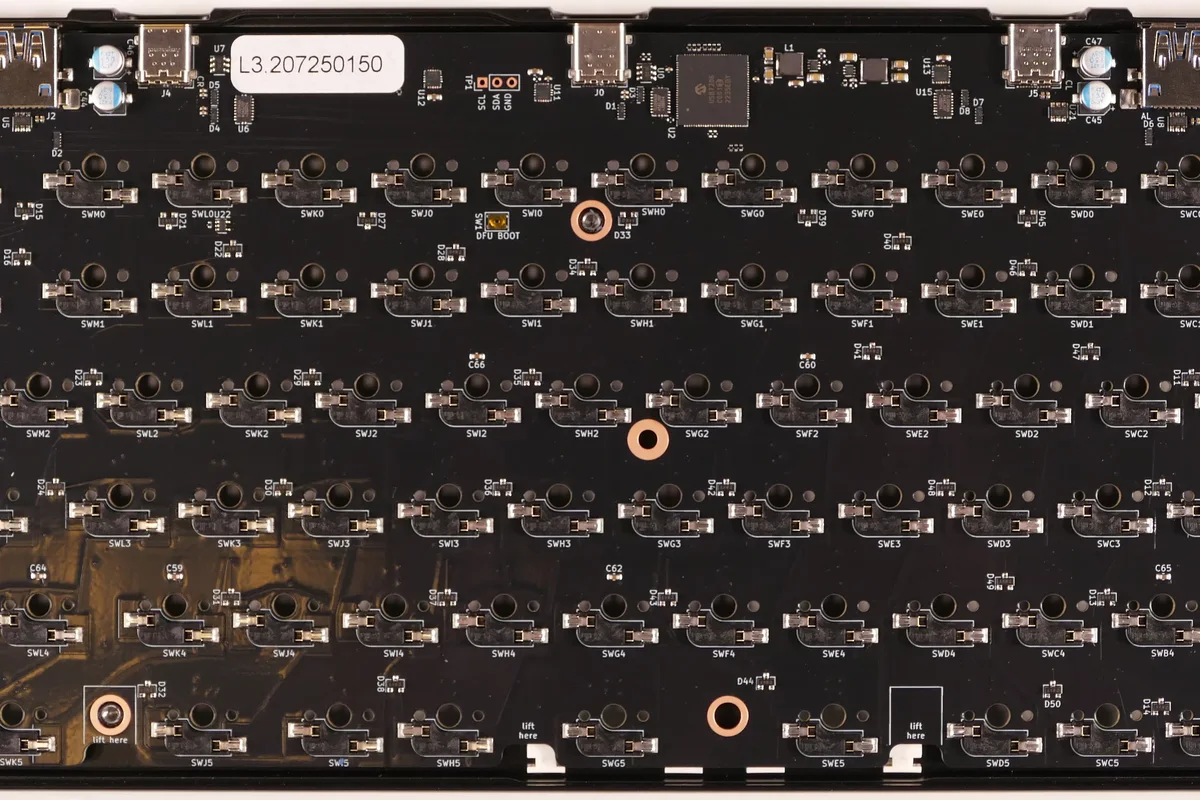
Case foam fills unused space between the PCB and the bottom of the case. It can reduce hollow resonance and soften some case noise, but it can also make a flexible board feel stiff if it is too thick.

How to do it
- Remove the keycaps, disconnect the cable, and open the case.
- Measure the cavity and mark every screw post, daughterboard cable, reset button, battery, and ventilation opening.
- Start with a thin, non-conductive sheet that does not compress the PCB against the case.
- Cut clearance holes generously. Foam should never press on a hot-swap socket, diode, USB connector, or battery.
- Lay it flat, route cables above or through the intended channels, and close the case without force.
- Test every key, port, and wireless function after reassembly.
If the case no longer closes easily, remove the foam. Do not solve a fit problem by tightening screws harder. Results depend on case material, plate, switch, and keycap, so do not promise a fixed percentage of volume reduction.
Beginner mod 3: plate foam and switch films
Plate foam sits around the switch cutouts and changes the acoustic character between the plate and PCB. Use the thickness and cutout pattern intended for your board. A homemade sheet that blocks switch pins, stabilizers, LEDs, or flex cuts can create more problems than it solves.
Switch films reduce housing wobble in some loose switches. They are unnecessary for a switch that already closes tightly, and a film that is too thick can keep the housing from snapping together. Test one switch before buying or installing a full set.
Beginner mod 4: the tape mod, with caution
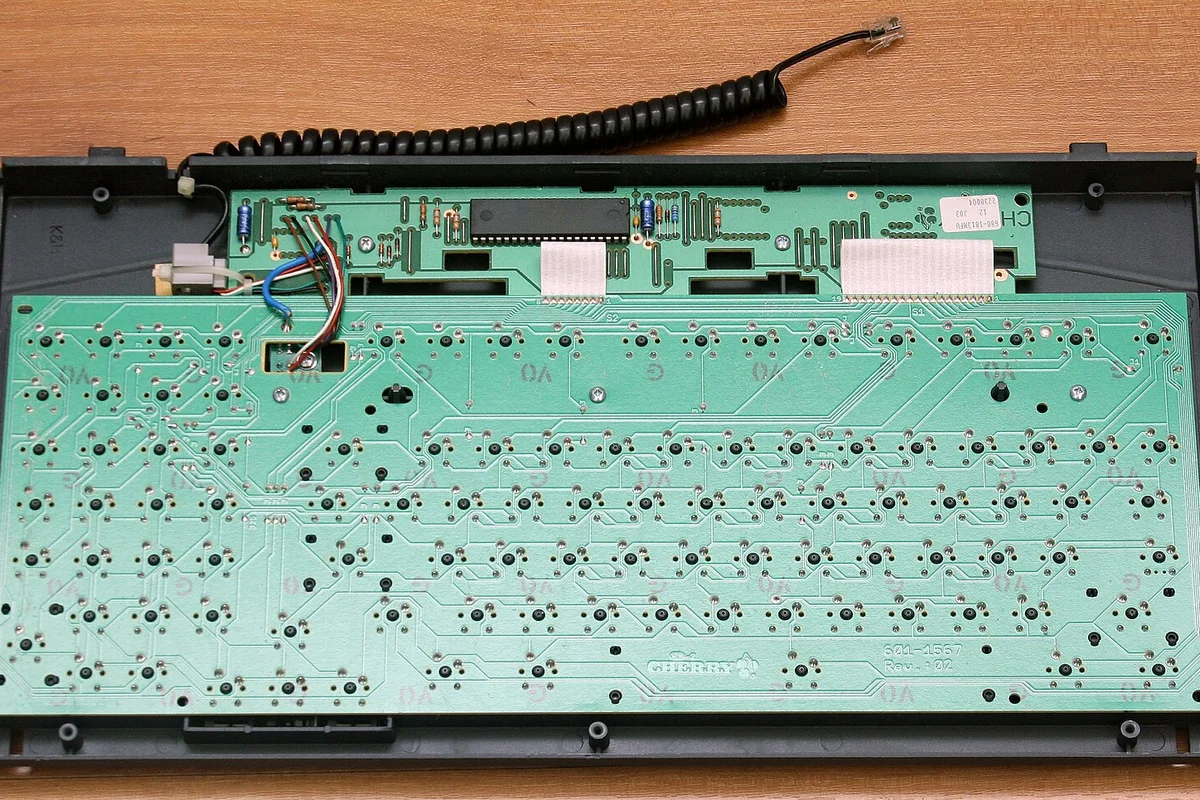
A tape mod uses low-tack painter’s tape on the back of a wired PCB to alter resonance. It is inexpensive and reversible, but it is not automatically safe for every board.

Safer procedure
- Confirm that the PCB is wired or that the manufacturer explicitly allows the modification. Do not cover a wireless antenna, battery, charging circuit, reset contact, or exposed component.
- Disconnect the board and clean only dry dust from the PCB surface.
- Apply one layer first. Leave clear all screw holes, USB areas, daughterboard connectors, test pads, diodes, LEDs, and labels needed for servicing.
- Use narrow overlapping strips rather than stretching tape across sharp components. Press it down without trapping loose edges.
- Reassemble, test, and listen. Add another layer only if you still want the change.
Use painter’s tape, not duct tape, electrical tape, or adhesive-backed material that can leave residue or trap heat. Remove the mod if the PCB gets warm, the case feels compressed, or a wireless connection becomes unreliable.
Beginner mod 5: stabilizer tuning
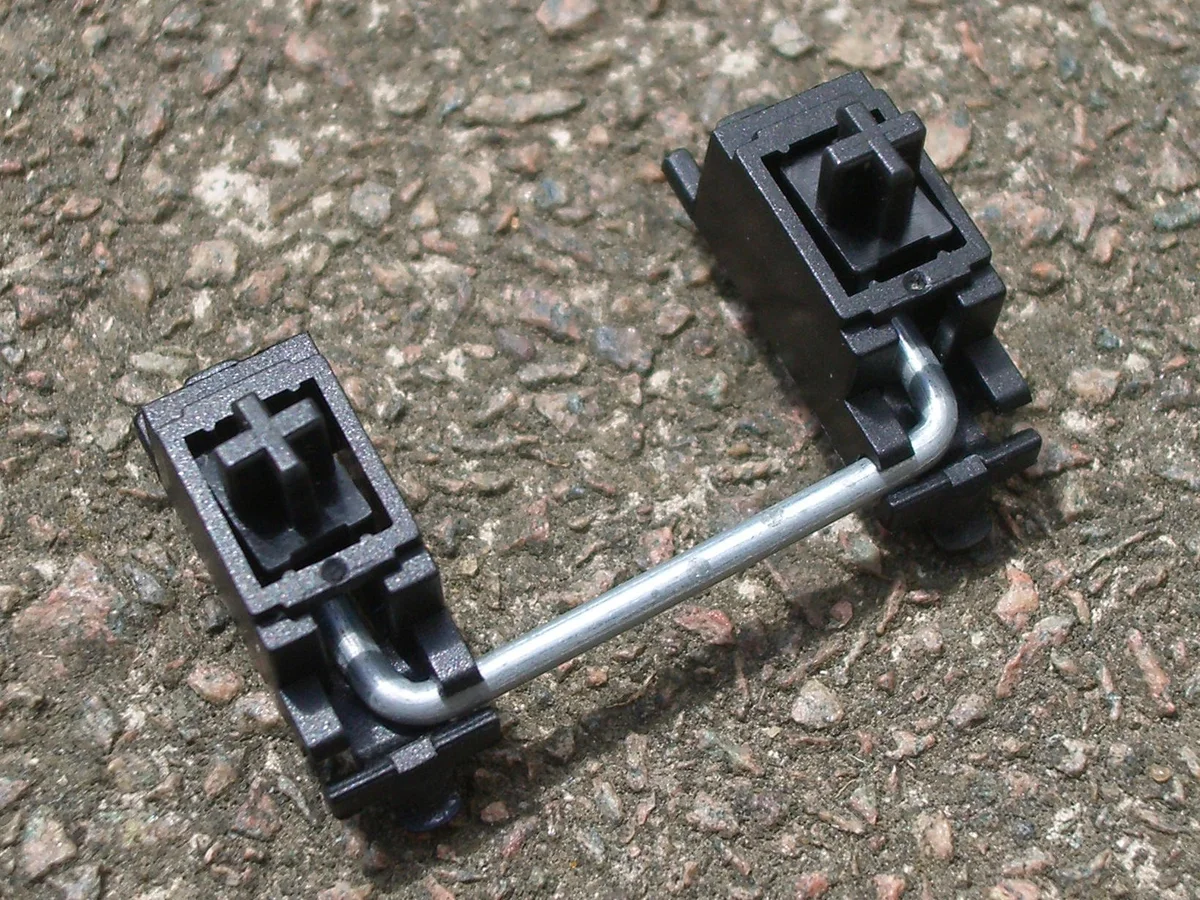
Large keys expose small alignment problems. Rattle can come from a loose wire, tick from a wire touching a housing, and stiffness from a twisted wire or misaligned housing.
- Remove the keycap and inspect the wire from above and below.
- Check that both housings sit at the same height and are attached to the correct mount type.
- Add a very small amount of suitable grease to the wire contact points. A heavy coat can feel sluggish.
- Press each side of the key independently. If one side rises late, correct the alignment before adding lubricant.
- If the wire is visibly bent, remove it and straighten it gently with appropriate tools. Replace it if it cannot be made true.
Avoid adhesive fabric or pad mods unless you understand the clearance on your board. A pad that is too thick can prevent the stabilizer from returning or hold a key permanently high.

Switch lubrication: the safe beginner method
Lubrication can make a scratchy switch smoother and reduce spring noise, but it is easy to overdo. Lubricant on electrical contacts can stop a key from registering. Too much on a tactile stem can erase the bump. Lubricating a click jacket can soften or destroy the click.
What you need
- A lubricant whose viscosity suits the switch part and desired feel
- A fine, clean brush
- Switch opener and tweezers
- A tray that keeps top housing, bottom housing, stem, and spring separated
- Ten to twenty spare or test switches for practice
You do not need a specific brand to learn the technique. Follow the lubricant maker’s compatibility instructions and avoid mixing unknown products.
.jpg)
A controlled process
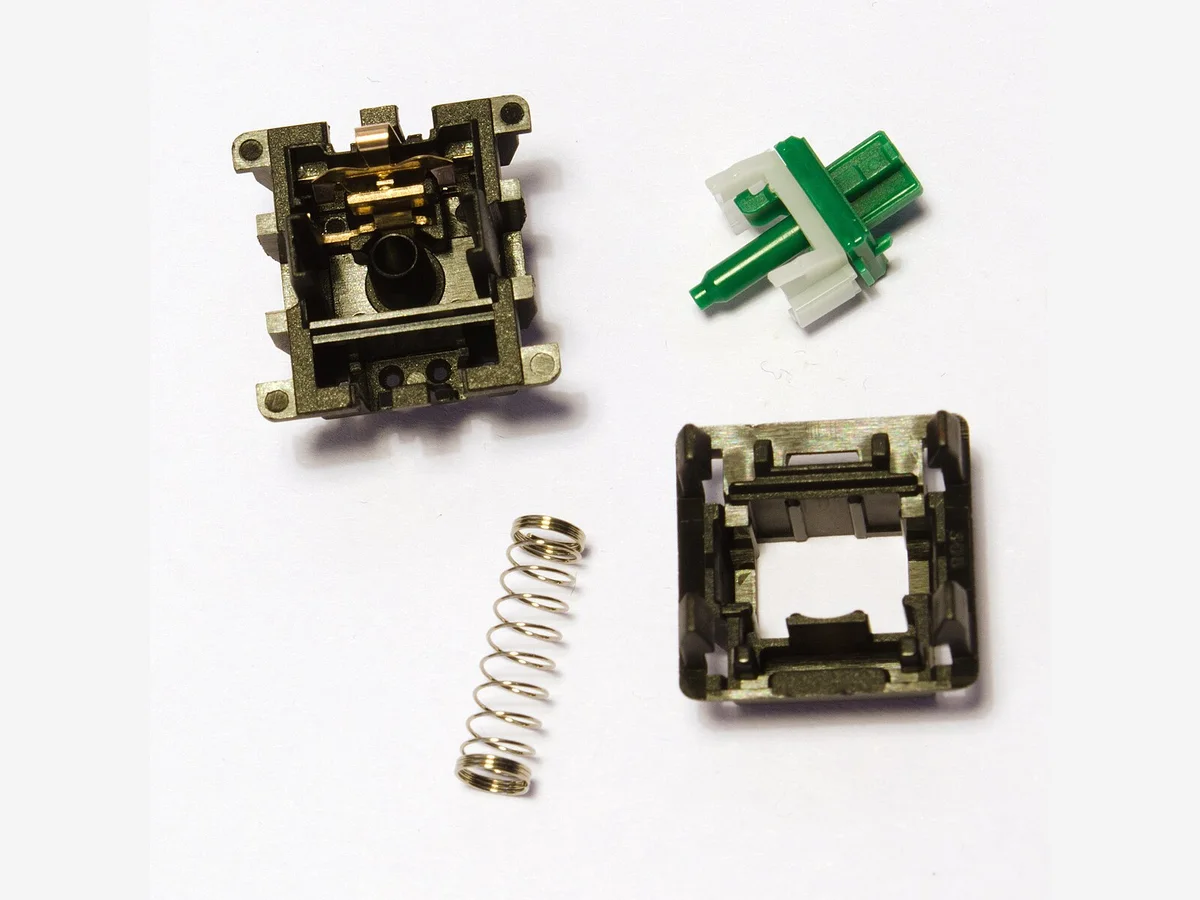
- Open one switch and identify the stem rails, bottom housing rails, spring, and electrical contact leaves.
- Apply an almost invisible film to the stem rails and the matching housing rails. Do not paint the whole cavity.
- For a tactile switch, keep lubricant off the tactile legs unless you deliberately want less tactility.
- Lubricate springs with a very light, even method. Bag lubrication is efficient, but let excess drain before reassembly.
- Keep all lubricant away from the metal contact leaves and pins.
- Close the switch fully, test its return, and compare it with an untouched switch.
- Do ten to twenty switches first. Continue only if the result is clearly better.
Which switches should you leave alone?
- A switch that already feels smooth and consistent
- A clicky switch when preserving its click is the goal
- A factory-lubed switch unless you have identified a specific defect
- A tactile switch when you are not prepared to preserve its bump carefully
If a switch feels sluggish after lubing, do not add a thinner layer on top. Open it, remove excess lubricant with a clean lint-free tool, and retest.
Enthusiast mods to approach later
- Spring swaps: Change force and sometimes spring noise. Confirm length, weight, and compatibility before doing a full set.
- Switch films: Use only when the housing has measurable wobble. Match film thickness to the switch.
- Plate or case swaps: These alter flex, sound, and fit. Confirm every mounting hole and stabilizer cutout.
- Foam stacks and PE sheets: Layering materials can create pressure, trapped heat, or an overly muted sound. Change one layer at a time.
- Soldering changes: Desoldering a full board is slow and can lift pads. Practice on scrap electronics or get help before making a permanent change.
A good modding workflow
- Record the stock sound and feel with the same keycaps and desk surface.
- Make one reversible change.
- Test every key and compare the result after a short typing session.
- Leave the board assembled for a day if the change is subtle.
- Keep notes about materials, thickness, lubricant amount, and what you actually liked.
If the mod made things worse
- Keys stop registering: Disconnect power and inspect for lubricant, tape, foam, or a switch pin on the contact path.
- Case will not close: Remove the newest foam or tape layer and check cable routing and screw length.
- Board feels harsh: A stiff foam layer or over-tightened case may be restricting the mount.
- Tactile switches feel flat: Excess lubricant may be on the tactile legs or stem.
- Wireless behavior changes: Remove tape or foam near the antenna and battery, then follow the board’s service instructions.
Related guides
- Building your first custom keyboard covers the correct assembly order and hot-swap caveats.
- Keycap materials and profiles explains how caps change sound and typing feel.
- Cleaning and maintenance covers safe routine care.
- Essential keyboard accessories helps separate a useful tool from an enthusiast purchase.
The goal of modding is not to copy someone else’s sound profile. It is to make a known, compatible change and keep the parts you genuinely enjoy.