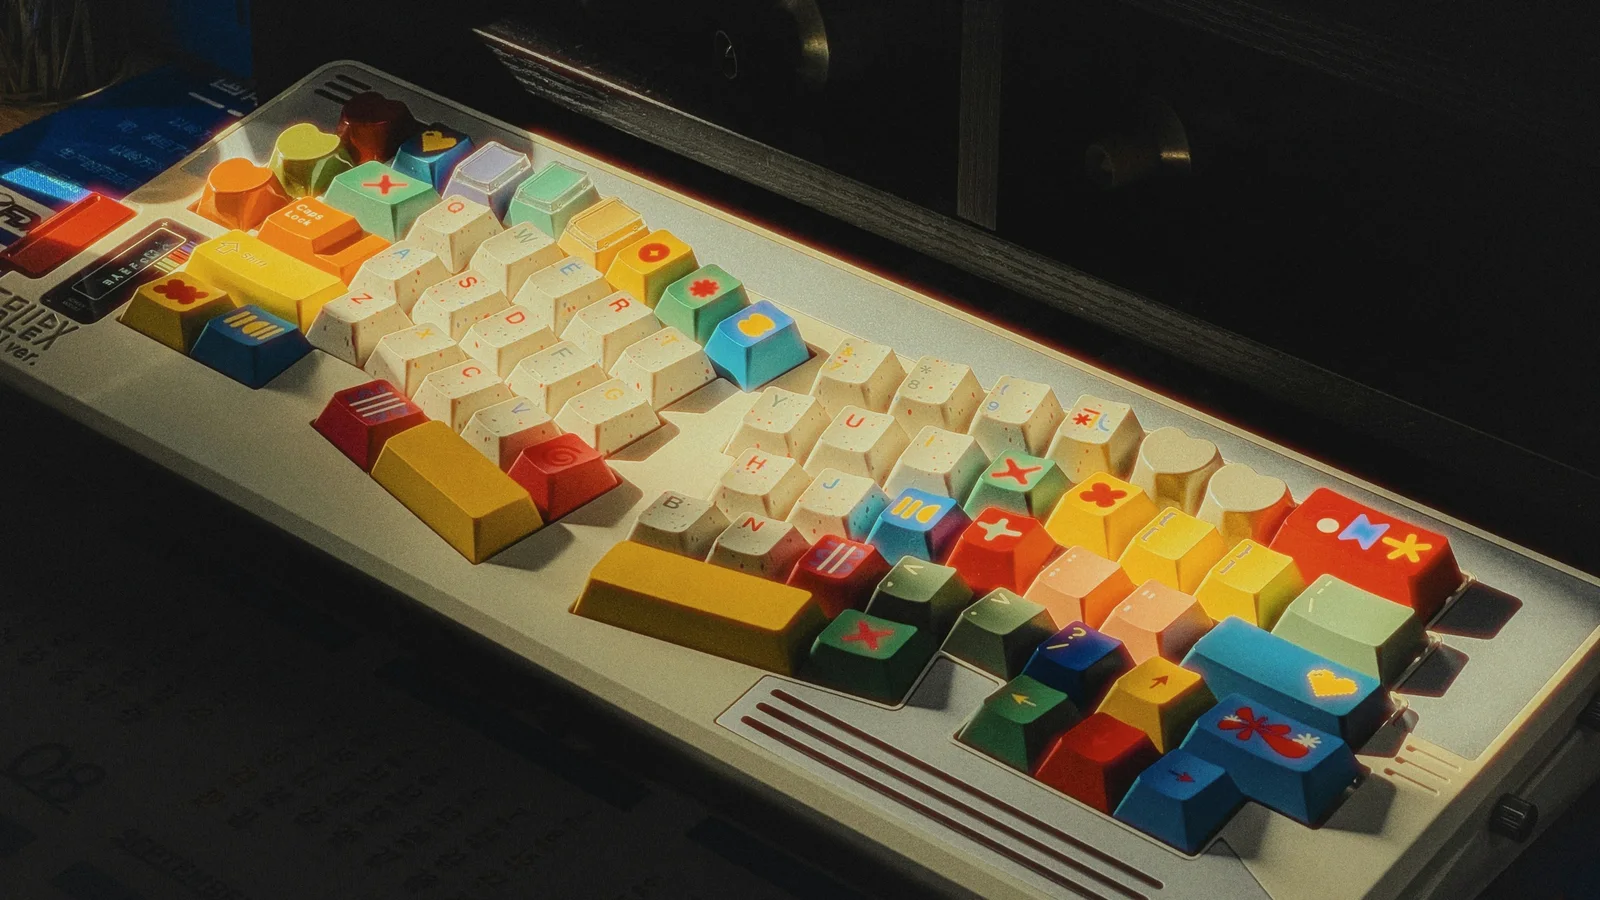
Keycaps change more than the color of a keyboard. Their plastic affects texture, shine, weight, and sound. Their profile changes finger travel, row guidance, and the height of your hands. The best choice is the one that fits your layout and feels good after a full typing session, not simply the one with the most impressive specification.
Check compatibility before comparing materials
Before choosing ABS or PBT, confirm that the set will physically fit:
- Stem: Most modern mechanical keyboards use an MX-style cross stem, but low-profile switches and proprietary designs may not.
- Layout coverage: Check the exact bottom row, right Shift, split Backspace, ISO or ANSI support, and navigation keys.
- Key sizes: Verify the spacebar length and the widths of Shift, Enter, Backspace, and modifier keys.
- Stabilizer inserts: Large caps need the correct spacing for the board’s stabilizers.
- Profile: A sculpted set must be installed by row. A uniform set is easier to rearrange, but its sound and feel are different.
- Lighting: For shine-through legends, check the legend construction and LED position. Material alone does not guarantee even backlighting.
A set described only as “compatible with 60%” is not enough information. Two 60% boards can use different bottom rows and spacebars.
Keycap materials
ABS: smooth, colorful, and likely to shine
ABS is a common thermoplastic used in stock boards and enthusiast sets. It accepts bright colors and detailed legends well, and it can feel smooth or slightly slick under the fingers.
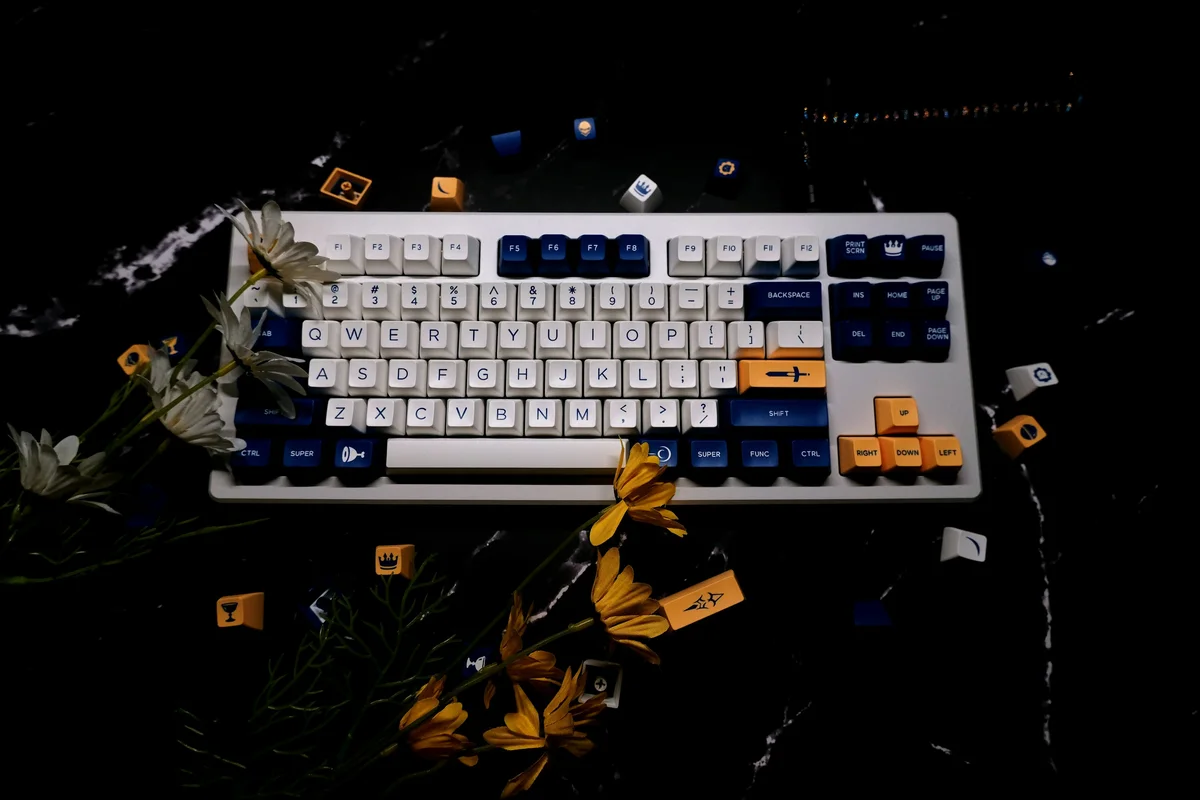
Typical traits:
- Smooth surface that may become glossy on heavily used keys
- Strong color variety and crisp options for legends
- Often lighter or thinner than a comparable thick PBT cap, though construction varies
- Frequently produces a brighter, clackier sound
- Good choice when appearance, color, or shine-through legends matter most
Shine is not a defect. Some people prefer the polished feel that develops over time. If you dislike it, look for thicker ABS, textured coatings, or PBT instead of assuming every ABS set has the same wall thickness.
PBT: textured and resistant to shine
PBT is a durable thermoplastic with a dry or slightly grainy texture. It generally keeps that texture longer than ABS and is a common choice for a daily-use board.
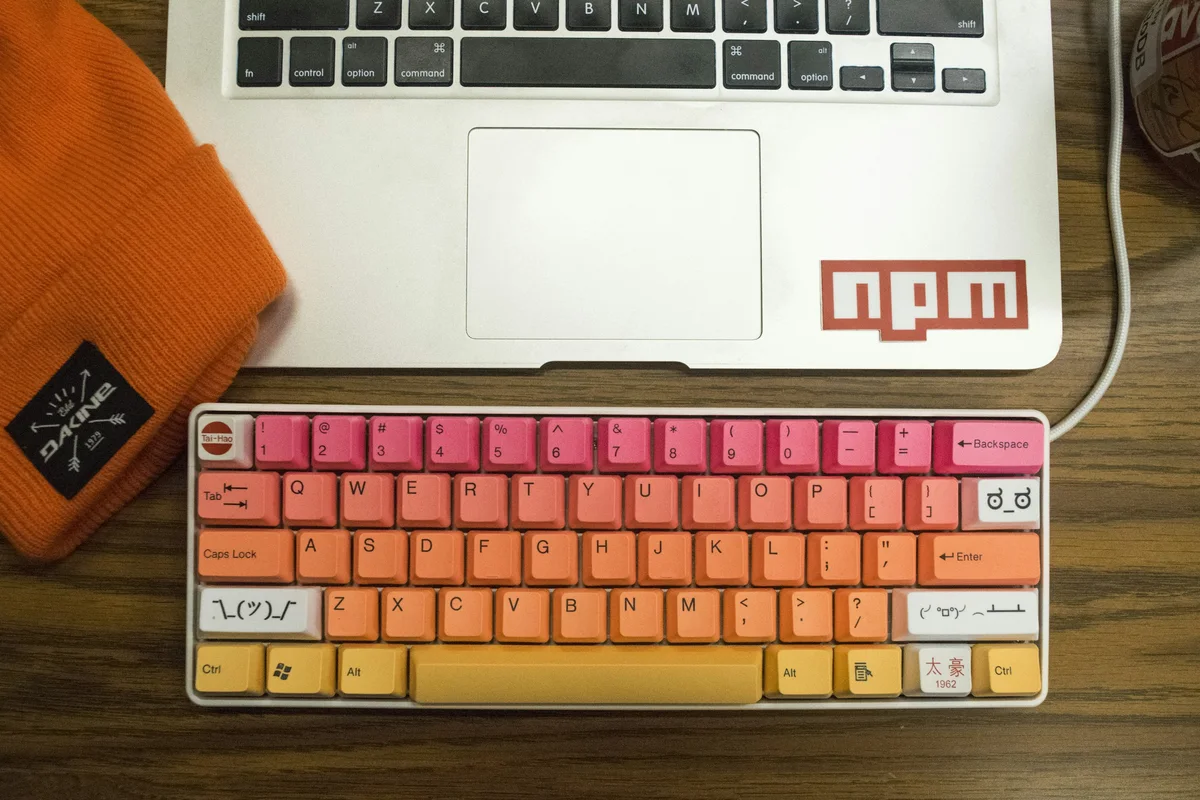
Typical traits:
- Matte, grippy surface that resists the glossy wear pattern many ABS caps develop
- Broad availability in dye-sublimated legends and subdued or saturated colorways
- Often associated with a deeper or more muted sound, especially when the caps are thick
- Longer keys can show manufacturing warp, so inspect the spacebar and large modifiers
- Good choice when texture, longevity, and low-maintenance appearance matter most
PBT is not automatically thicker, deeper sounding, or higher quality. Mold design, wall thickness, legend method, switch, plate, case, and desk surface all influence the result.
ABS versus PBT at a glance
| Question | ABS | PBT |
|---|---|---|
| Surface | Smooth to slightly slick | Textured to dry |
| Wear | Can develop shine on busy keys | Usually resists shine longer |
| Color and legends | Excellent range and fine detail | Excellent dye-sub options, with different limits |
| Sound tendency | Often brighter or clackier | Often deeper or more muted when thick |
| Best reason to choose it | Color, smooth feel, shine-through options | Texture, durability, daily use |
| Main caveat | Glossy wear may bother some users | Large caps may need a warp check |
The table describes tendencies, not guarantees. Compare thickness and construction when sound is a priority.
Other materials worth knowing
- POM: Very smooth and naturally low-friction. It is less common and often chosen for a distinctive feel or deeper sound.
- Polycarbonate: Often clear or translucent and useful for showing backlighting. It can be softer and may sound different from opaque caps.
- Resin: Usually used for decorative artisan caps rather than full sets. Check stem fit and clearance before placing one on a switch.
- Rubber or silicone: Sometimes used for novelty or dampening caps. They feel and sound unlike standard rigid keycaps and may not suit every switch.
Avoid treating material names as a complete quality rating. A well-made thin cap can fit better than a poorly molded thick one.
How keycap profiles work
A profile describes the height and shape of a cap. Compare three features:
- Height: How far the top of the cap sits above the switch.
- Sculpting: Whether each row has a different angle and height, or all rows share one shape.
- Top surface: Cylindrical curves from left to right, spherical curves in several directions, and flat tops offer different finger guidance.
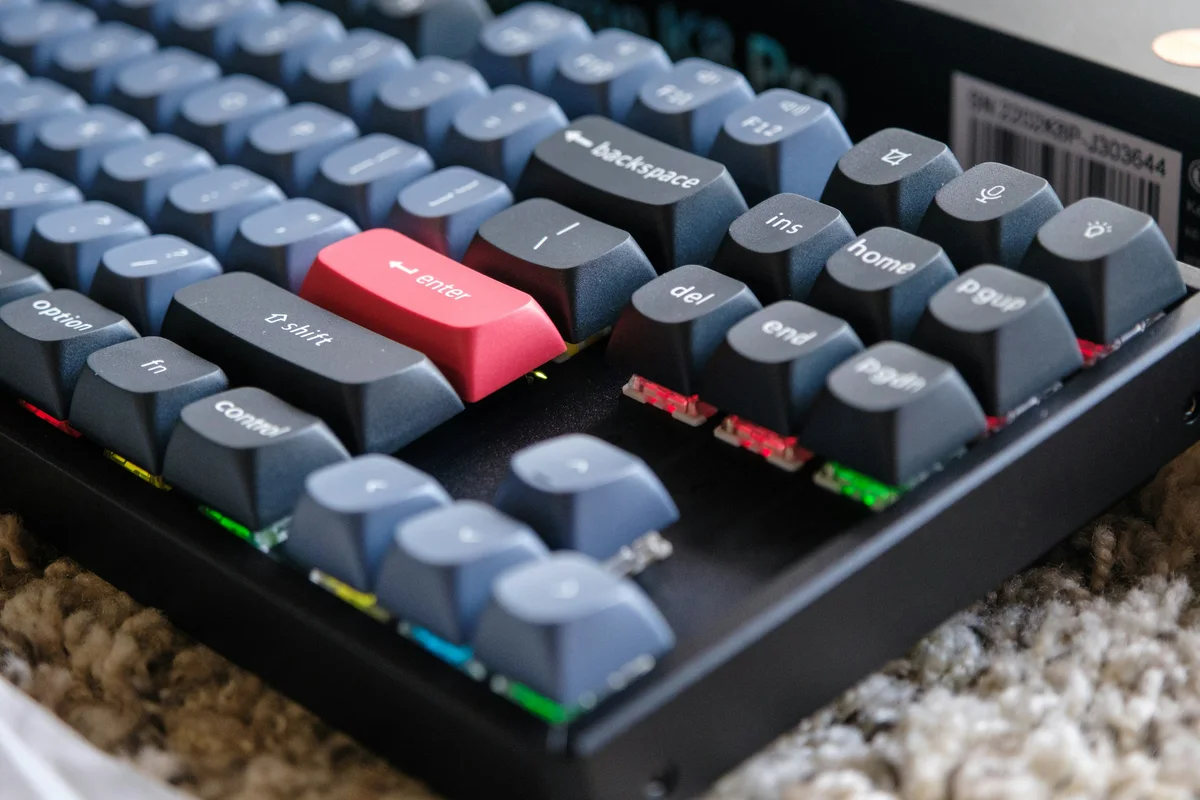
Cherry profile
Cherry is a relatively low, sculpted profile with cylindrical tops. Its modest row shaping keeps hands close to the desk while still offering row guidance.
A good fit for: all-day typing, office work, and people moving from laptop-style boards. It is a safe starting point if you want a lower sculpted shape without a dramatic adjustment period.
OEM profile
OEM is a medium-height, sculpted profile common on pre-built keyboards. Its row angles are familiar to many users and it is widely available in layout-friendly sets.
A good fit for: mixed use, gaming and typing, and anyone who already likes the feel of a typical stock mechanical keyboard.
SA profile
SA is tall, often heavily sculpted, and uses a spherical dish on the top. It creates a strong retro look and can produce a full sound when paired with a suitable build.
A good fit for: deliberate typing and vintage-inspired builds. The height can require more finger movement and may feel tiring until you adjust. Check case clearance and wrist position.
DSA profile
DSA is a low, uniform profile with spherical tops. Because every row uses a similar height, it is flexible for alternate layouts and key rearrangement.
A good fit for: ortholinear boards, frequent remapping, and a flat visual design. It offers less sculpted row guidance, so touch typists may need a short adjustment period.
XDA profile
XDA is a medium-height, uniform profile with broad tops. It gives a flatter, more spacious visual field than many sculpted sets, but the feel varies substantially by manufacturer and thickness.
A good fit for: uniform layouts, larger top surfaces, and users who prefer consistent rows. Check the exact height because XDA sets are not identical across makers.
Low-profile keycaps
Low-profile caps are designed for low-profile switches and compatible cases. A conventional MX keycap may not fit the switch housing or may interfere with the case, and a low-profile cap set may not fit a standard MX board.
Treat “low profile” as a compatibility category, not just a shorter version of Cherry. Confirm the stem, switch family, key spacing, and case clearance.
Sculpted versus uniform: which is easier?
Sculpted sets guide the fingers by row and can feel natural for standard layouts. They must be installed in the correct rows, and moving a cap to another row may create an awkward angle.
Uniform sets are easier to rearrange and suit ortholinear or unusual layouts. They can feel less guided during touch typing, but that is a preference rather than a flaw.
Legend methods and backlighting
- Dye sublimation: Ink is transferred into the plastic surface. It is common on PBT and durable, but the available detail and color contrast depend on the process.
- Double-shot molding: Two plastics form the cap and legend. It can produce crisp, durable legends and is available in both ABS and PBT.
- Laser or pad printing: The legend is applied to the surface and may wear sooner, depending on the coating.
- Shine-through: A translucent legend or cap lets LED light pass. Check whether the board uses north-facing or south-facing LEDs, since some switch and cap combinations can interfere.
Backlight brightness also depends on the PCB, LED position, plate, switch housing, and legend placement. A transparent cap is not automatically evenly lit.
A simple buying decision
Choose based on what you notice most:
- Want a smooth feel and vivid color? Start with ABS.
- Want a dry texture and less visible wear? Start with PBT.
- Want a deep, distinctive feel? Compare thick caps and POM, but judge the complete build.
- Want easy rearrangement? Choose a uniform profile such as DSA or XDA, if the layout kit supports your board.
- Want familiar row guidance? Choose a sculpted profile such as Cherry or OEM.
- Want a retro statement? Consider SA and allow time to adapt.
- Need a non-standard layout? Prioritize a complete kit and correct key sizes before material or color.
If possible, try a small sample or a friend’s board. Profile preference is personal, and a five-minute test is better than relying on a height chart alone.
Care and troubleshooting
- Remove caps with a proper puller by lifting evenly from both sides.
- Wash rigid keycaps separately in lukewarm water with mild soap. Do not use hot water that can warp long caps.
- Let every cap dry completely before reinstalling it. Water trapped in a stem can reach the switch.
- Keep printed, coated, resin, and artisan caps to their maker’s care instructions instead of assuming they can be soaked.
- If a cap wobbles, check the stem and switch rather than forcing it harder.
- If a spacebar binds, check warping, stabilizer alignment, and the profile’s clearance around the wire.
Related guides
- Building your first custom keyboard explains layout, stabilizer, and switch compatibility before assembly.
- Introduction to modding covers how caps interact with sound and safe board changes.
- Understanding keyboard sound breaks down the other parts that shape acoustic character.
- Essential keyboard accessories covers pullers, storage, cleaning, and buying priorities.
The reliable keycap choice is a compatible set in a profile you can type on comfortably. Material and color come after that foundation.