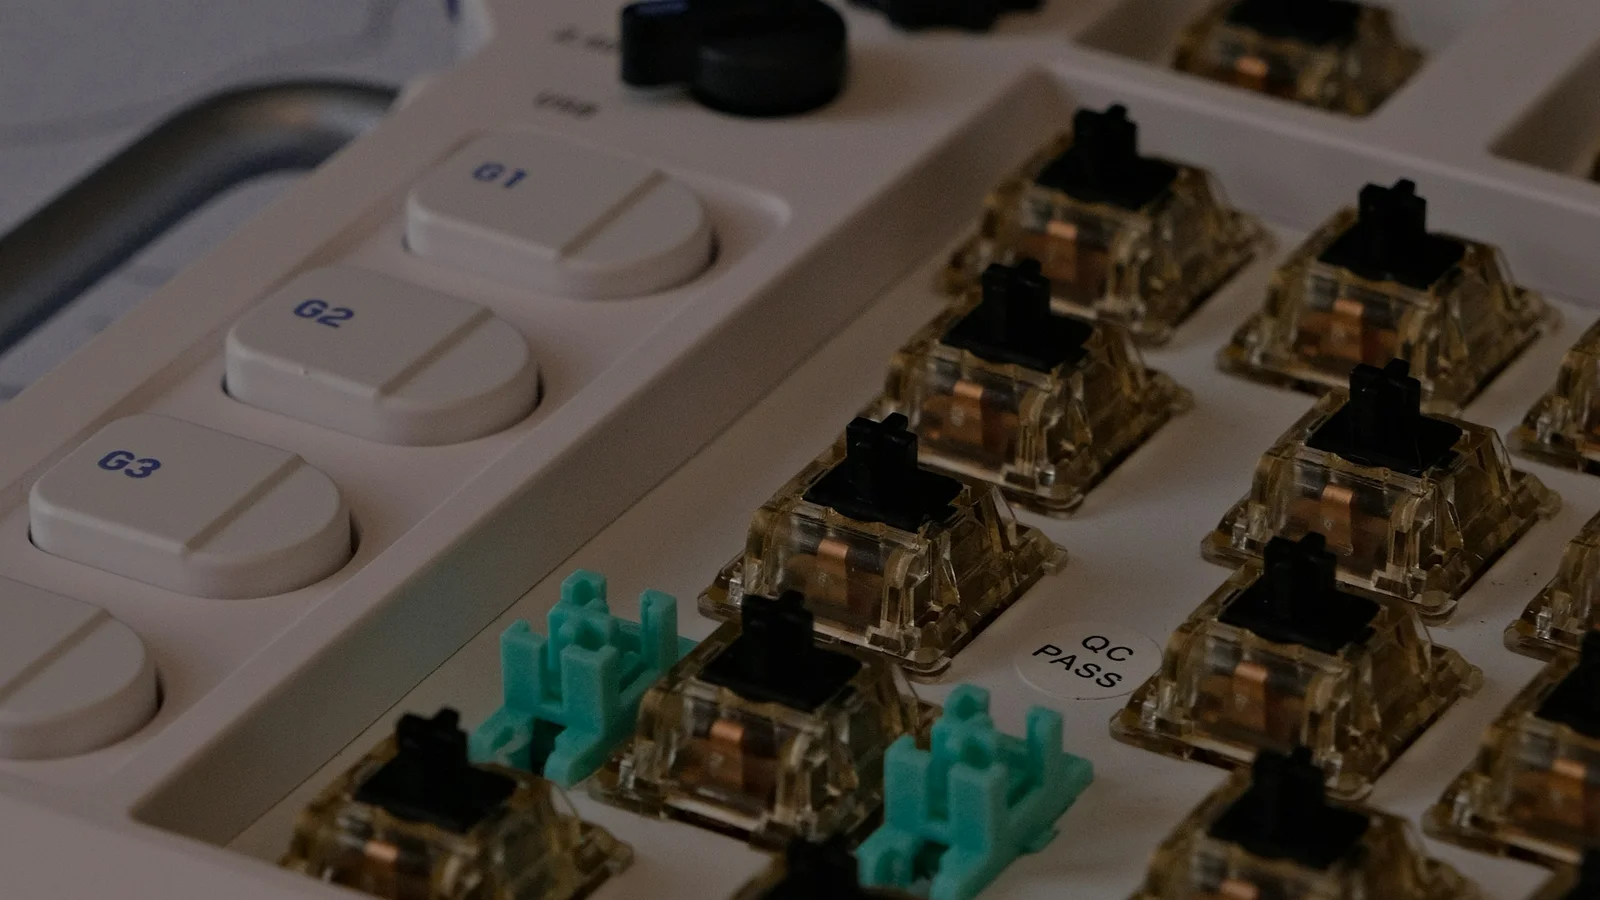
A mechanical keyboard is more than a set of switches and keycaps. The case, PCB, plate, stabilizers, switches, and keycaps work as a layered system, and each layer changes the way the board feels, sounds, connects, or can be repaired. This guide explains the main parts in plain language so you can read a specification sheet or plan a custom build with fewer surprises.
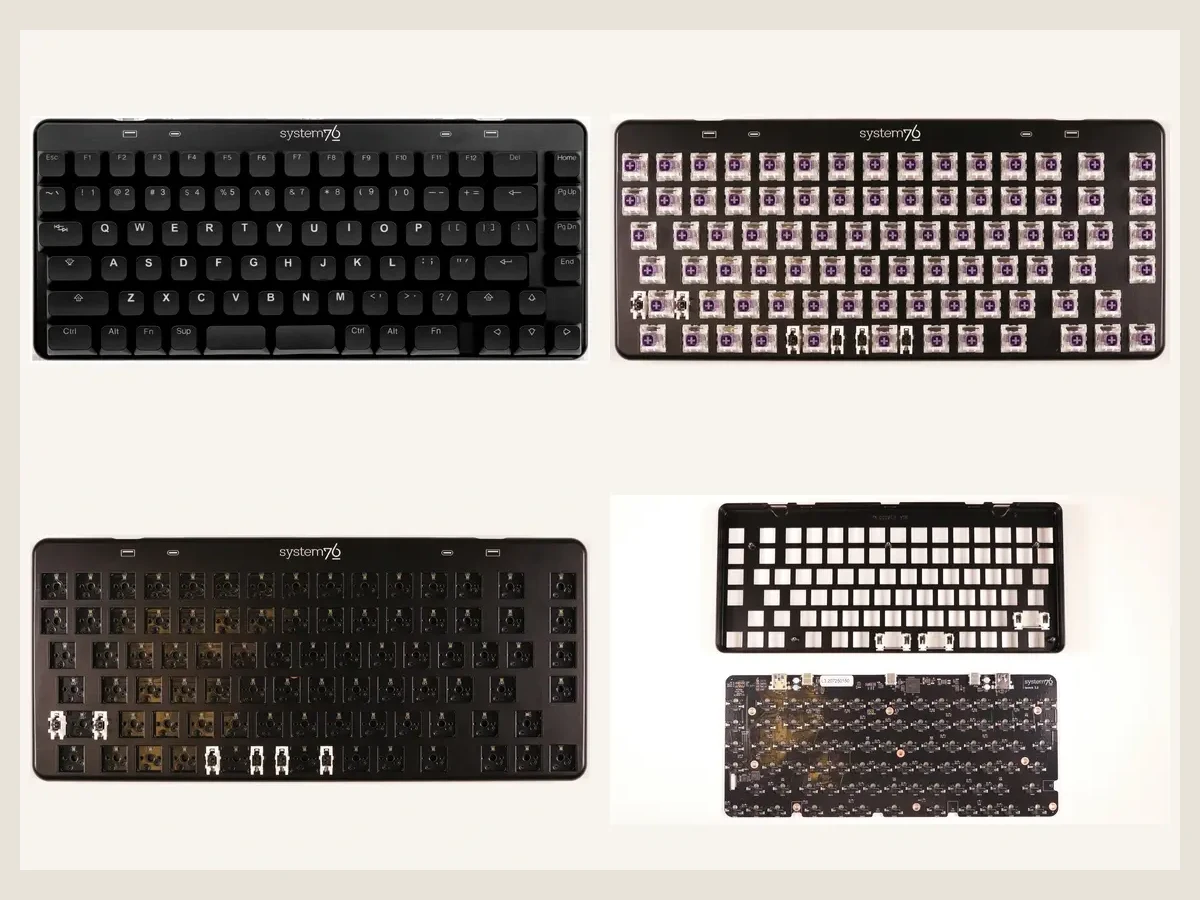
The keyboard as a stack
From bottom to top, a typical board contains a bottom case, PCB, plate, stabilizers, switches, keycaps, and sometimes a top case or bezel. Not every keyboard includes every layer: plateless boards omit the plate, integrated designs combine case and plate functions, and low-profile boards use different switch and keycap systems.
The useful question is not which part is “best.” It is what the part is meant to do and how it supports your priorities: stable typing, a softer feel, a quieter sound, easy repairs, or a particular layout.
1. Case: the frame and acoustic enclosure
The case holds the assembly together and contacts the desk. Plastic cases are often lighter and can offer a softer, more muted feel, while aluminum adds weight and rigidity. Wood, acrylic, and composite cases create their own visual and acoustic trade-offs. Material alone does not predict the final sound because wall thickness, internal cavities, dampening, and the mounting system matter too.
A case affects:
- Stability: weight and rubber feet can reduce movement.
- Sound: internal volume and surfaces shape resonance and reflections.
- Clearance: the case must match the PCB, plate, battery, and cable routing.
- Repairability: screws and accessible layers are easier to service than permanently bonded parts.
A heavier case is not automatically more comfortable or quieter. It mainly changes stability and how vibrations are contained.
2. PCB: the electrical and firmware layer
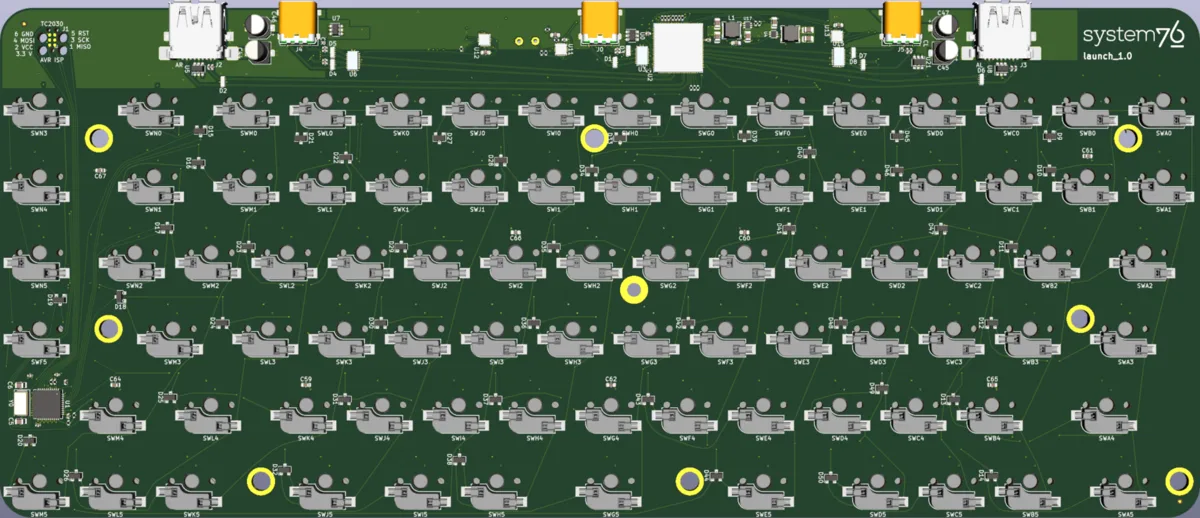
The printed circuit board, or PCB, carries the switch contacts and routes each keypress to the controller. The controller and firmware then translate those signals into characters, shortcuts, layers, or macros. A PCB may also handle RGB lighting, battery charging, Bluetooth, or 2.4 GHz wireless communication.

Hot-swap or soldered?
- Hot-swap sockets let you change compatible switches without soldering, although sockets can be damaged by force or misalignment.
- Soldered PCBs attach switches directly and may support layouts that are not available in hot-swap versions.
- 3-pin and 5-pin support refers to the switch mounting legs. A plate can provide stability for 3-pin switches; a PCB that accepts 5-pin switches may also accept 3-pin versions, but you should verify the board’s layout.
Check more than the word “hot-swap.” Socket type, switch orientation, layout support, firmware, and wireless features all affect compatibility. The PCB also does not determine every aspect of latency: the controller, scan rate, firmware, connection, and computer all contribute.
3. Plate: switch alignment and flex
The plate sits above or around the PCB and keeps switches aligned. Aluminum and brass tend to feel stiffer; polycarbonate, FR4, and other flexible materials can allow more movement. A plateless keyboard mounts switches directly to the PCB and may feel more flexible, depending on the PCB and case.
The plate influences bottom-out feel and sound, but it is only one part of the system. A flexible plate in a rigid case will not behave exactly like the same plate in a gasket-mounted case. Treat material names as clues, not a complete prediction.
4. Stabilizers: keeping large keys level
The spacebar, Enter, Shift, and Backspace keys are wider than a single switch can support. Stabilizers add a wire and housings so the keycap moves evenly when you press near its edge. Plate-mounted and PCB-mounted designs use different attachment points; screw-in PCB stabilizers are common in custom builds, while clip-in plate stabilizers are common in many pre-built boards.
Well-tuned stabilizers are smooth and quiet. Poorly aligned or dry stabilizers can rattle, feel gritty, or make the spacebar sound much louder than the letter keys. Tuning usually involves careful alignment, cleaning, and suitable lubricant, not simply adding more grease.
5. Switches: the feel of each key
A switch contains a housing, stem, spring, and contact system. Its category and force curve define the core press:
- Linear: smooth travel without a tactile bump.
- Tactile: a physical bump during the press.
- Clicky: tactile feedback plus a dedicated click mechanism.
- Silent linear or tactile: dampers reduce impact noise, but do not remove every sound.
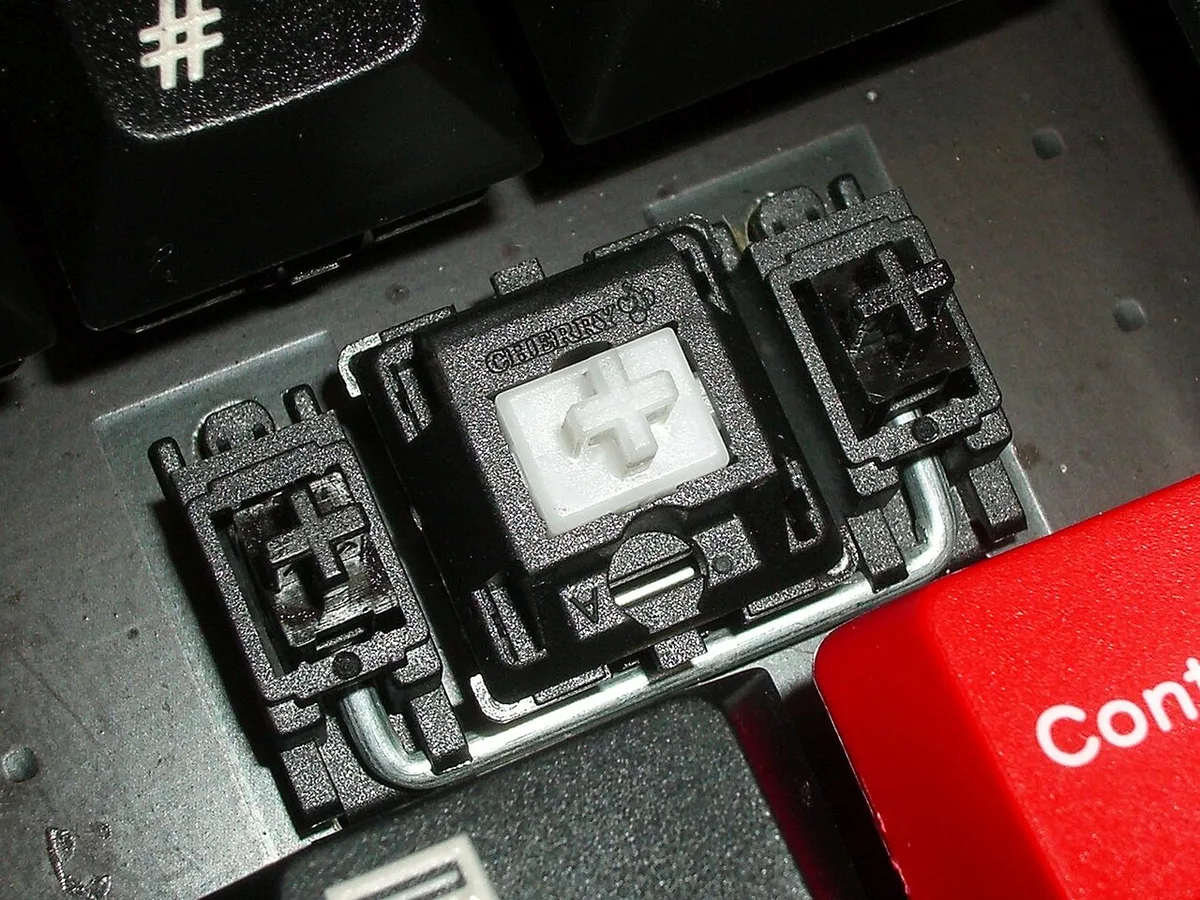

Force, pre-travel, total travel, spring behavior, and housing design all matter. For a focused explanation of these measurements, read mechanical switch types. Switches also need to match the PCB, plate, keycap stem, and hot-swap socket. Low-profile, optical, and Hall-effect systems are not interchangeable with standard MX-style parts simply because they are all called “mechanical.”
6. Keycaps: the surface your fingers touch
Keycaps affect grip, height, sound, legends, and the visual identity of the keyboard. ABS is often smooth and can develop shine with use; PBT is usually more textured and resists shine longer, though formulation and thickness vary by set.
Profiles shape the height and angle of each row. OEM is common on pre-built keyboards, Cherry is a popular lower profile, SA is tall and sculpted, and XDA or DSA use more uniform rows. No profile is universally ergonomic. Your hand size, typing technique, keyboard angle, and wrist position matter.
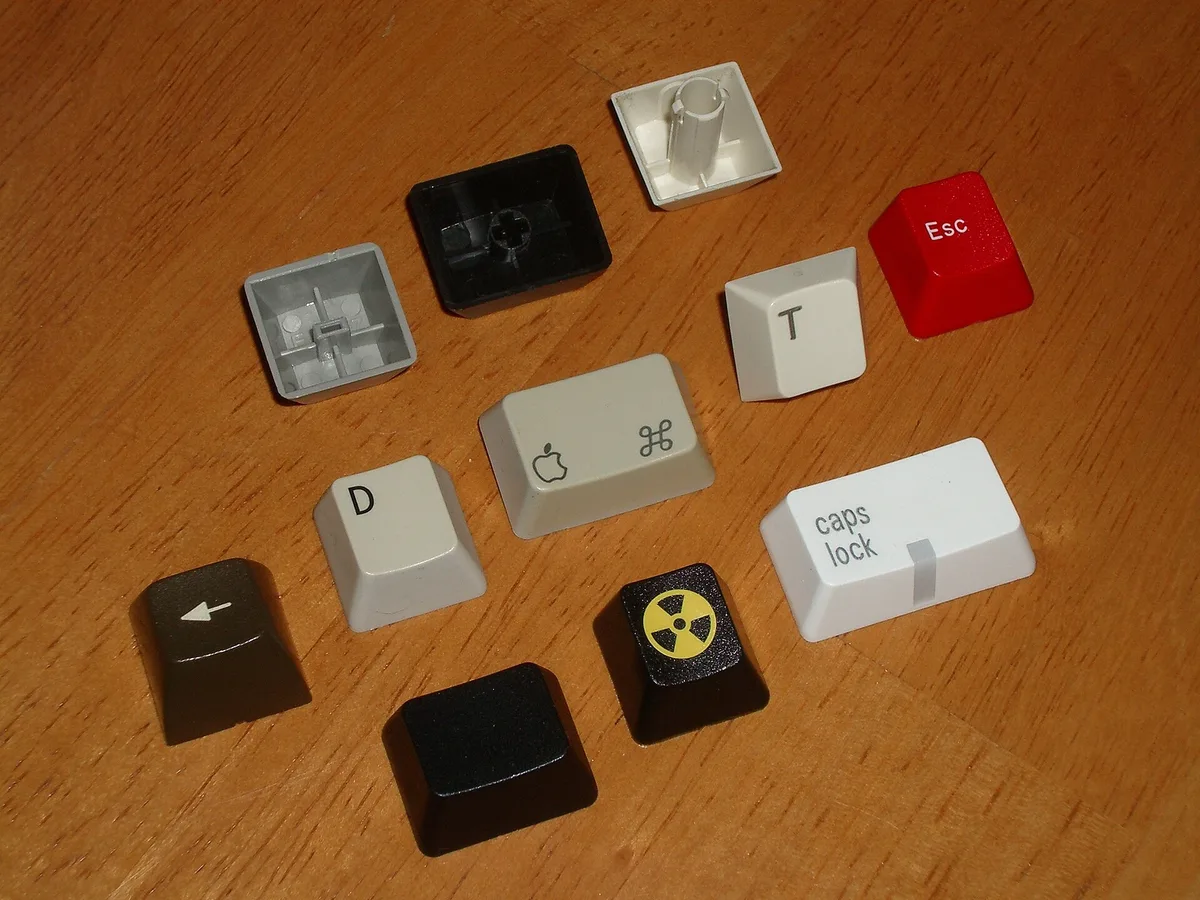

Legend methods include doubleshot molding, dye sublimation, laser marking, and pad printing. They differ in durability and the kinds of designs they support. For a deeper look, see keycap materials and profiles.
How mounting changes the whole board
The mount describes how the PCB or plate attaches to the case:
- Tray mount: screws usually pass through the PCB into the case, producing a direct feel in many designs.
- Top mount: the plate attaches to the upper case, often emphasizing a firmer, structured response.
- Gasket mount: flexible gaskets separate the plate from the case and may allow a softer press.
- Isolated or suspended designs: reduce direct contact between the typing assembly and the case.
These labels describe a construction approach, not a guaranteed sound or comfort result. Gasket material, cutouts, plate thickness, case geometry, and typing force can change the outcome.
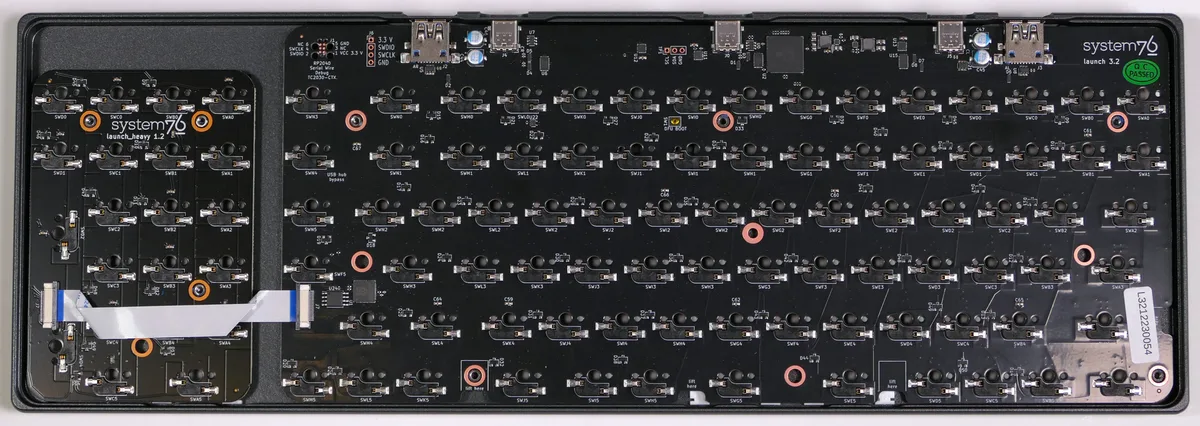

How the parts fit together
- The bottom case provides the base.
- The PCB sits on supports, foam, or mounting hardware.
- Stabilizers attach to the PCB or plate.
- The plate aligns switches when a plate is present.
- Switches mount into the plate or PCB and connect through sockets or solder.
- Keycaps press onto the switch stems.
- The top case or bezel surrounds the finished assembly.
Quick reference
| Part | Main job | What to check |
|---|---|---|
| Case | Holds and encloses the board | Material, space, weight, dampening |
| PCB | Detects keys and runs features | Layout, sockets, firmware, connection |
| Plate | Aligns switches and adds structure | Material, flex, compatibility |
| Stabilizers | Supports large keys | Mount type, alignment, tuning |
| Switches | Define press and actuation | Category, force, travel, pin layout |
| Keycaps | Provide the touch surface | Stem, profile, material, legends |
Once you can name each layer, upgrades become easier to diagnose. A rattling spacebar points to stabilizers, a scratchy press points to a switch, and a hollow resonance may involve the case, plate, keycaps, or dampening. That foundation is also useful before reading what a mechanical keyboard is or planning your first modification with introduction to modding.