Good keyboard ergonomics is less about finding one perfect posture and more about making neutral, relaxed positions easy to return to. Your body, desk, chair, keyboard, and work pattern all interact. A setup that feels comfortable today may still benefit from small position changes during a long session.
This is general comfort guidance, not a diagnosis or treatment plan. If pain, tingling, numbness, weakness, or other symptoms persist or interfere with daily life, stop pushing through them and speak with a qualified healthcare professional.

Start with the whole workstation
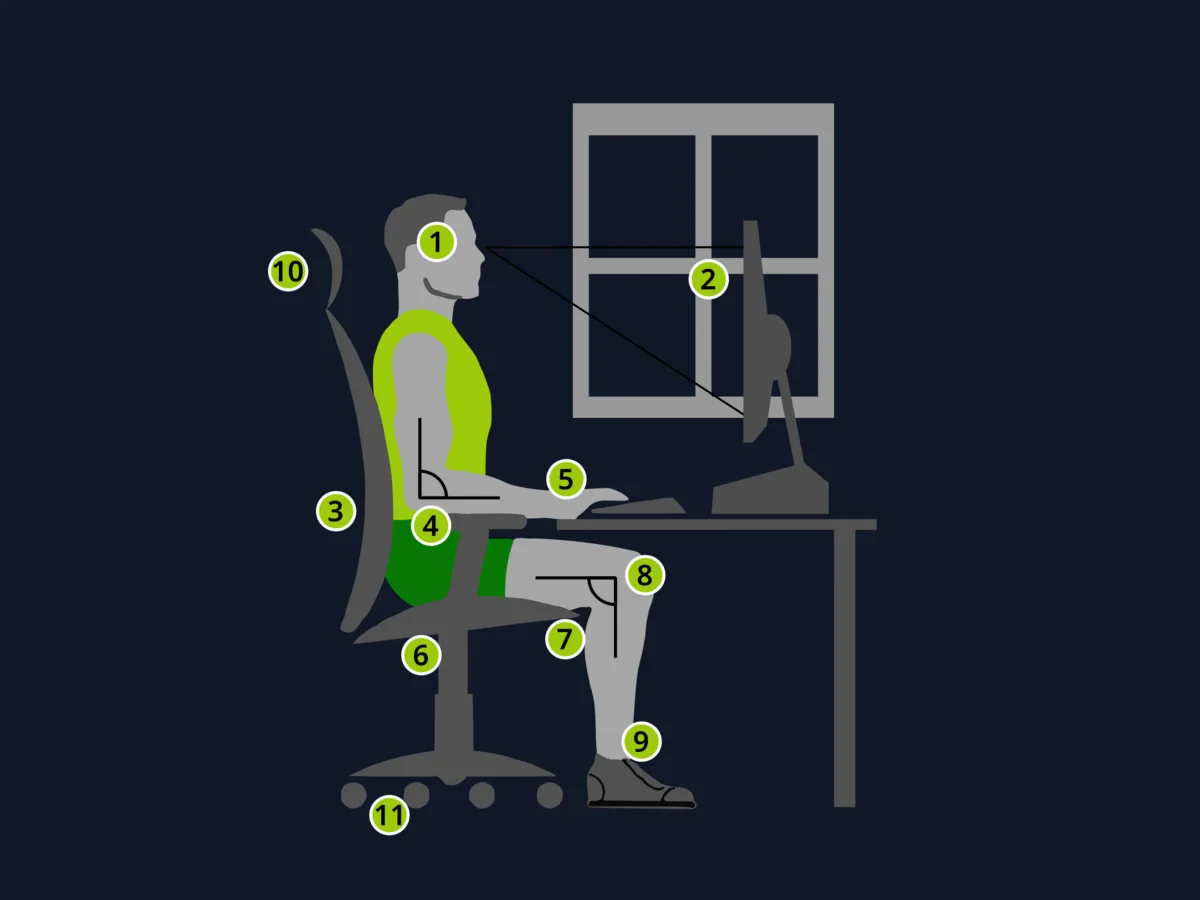
Chair and feet
- Adjust the chair so your feet rest comfortably on the floor or on a stable footrest.
- Let your knees and hips sit at roughly comfortable right angles rather than chasing an exact measurement.
- Keep your lower back supported if that helps you stay relaxed, without forcing your spine into one position.
- Set armrests low enough that your shoulders can drop. If armrests prevent you from getting close to the desk, lower them or move them aside.
The useful test is simple: can you sit close enough to the desk without reaching, shrugging, or bracing your weight on your wrists?
Screen and line of sight
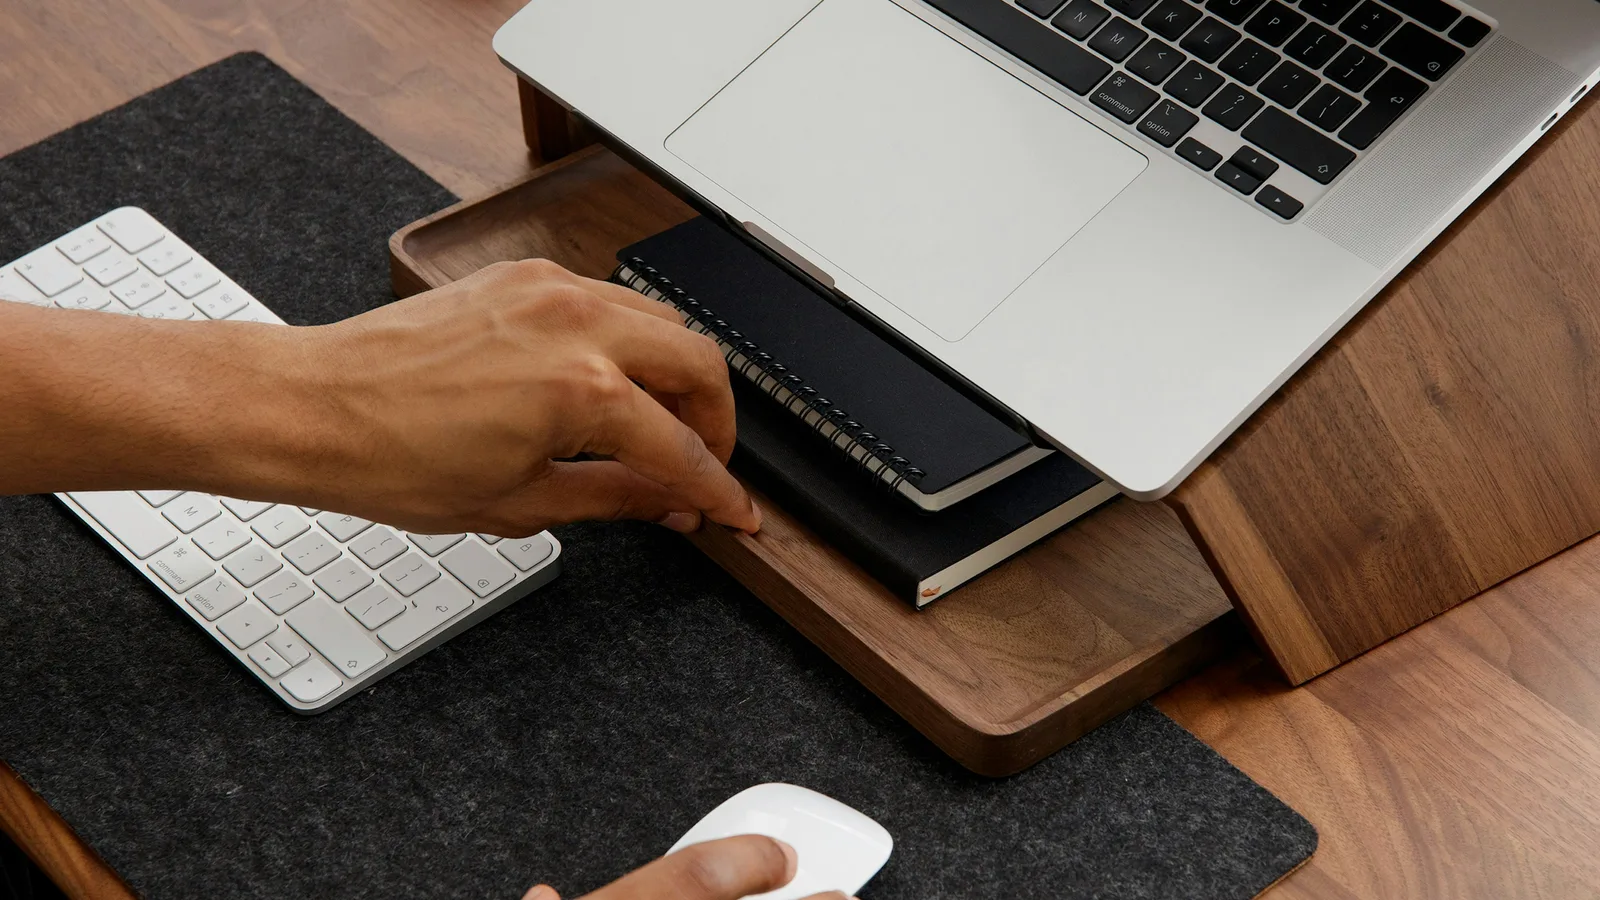
Place the main screen directly in front of you. Its upper edge is often comfortable at or a little below eye level, but the right height depends on your screen size, glasses, and tasks. Keep it far enough away that you can read without leaning forward. If you use a laptop for long periods, raise the screen and add an external keyboard and mouse so your neck and hands are not forced to solve two different height problems at once.
Position the keyboard for neutral hands
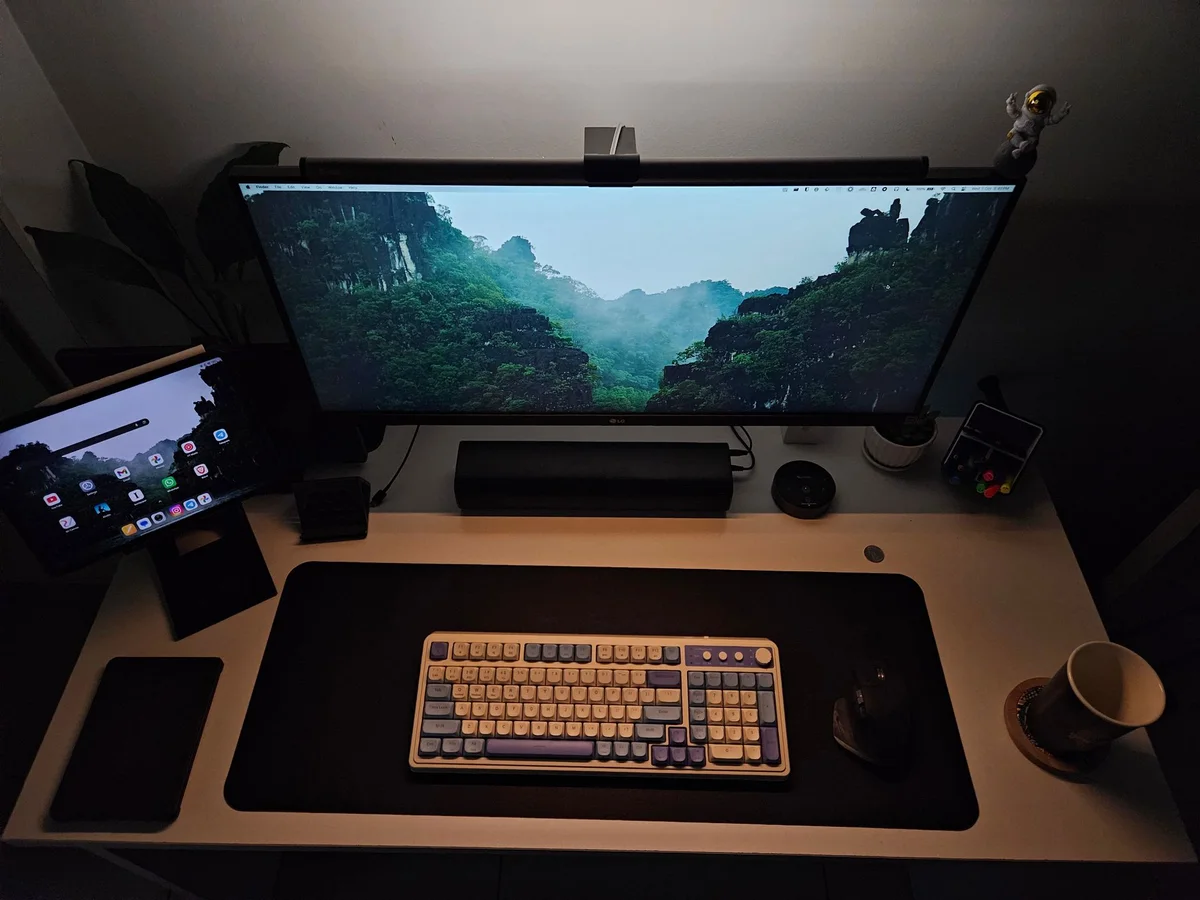
- Place the keyboard where your elbows can stay near your sides and your shoulders can relax.
- Keep your forearms broadly in line with your hands. Avoid bending the wrists sharply upward, downward, or sideways.
- Centre the main letter area with your body. If the number pad pushes the mouse far away, try a TKL, 75%, or 65% layout, or use a separate numpad where it suits the task.
- Leave enough room in front of the keyboard for your forearms to approach without pressing into a hard desk edge.
- Adjust the desk or chair before relying on a thick wrist rest to compensate for a keyboard that is too high.
There is no universal “correct” distance from the desk edge. The correct position is the one that lets your elbows, shoulders, and hands stay relaxed while you can reach the keys without leaning.
Keyboard feet and angles
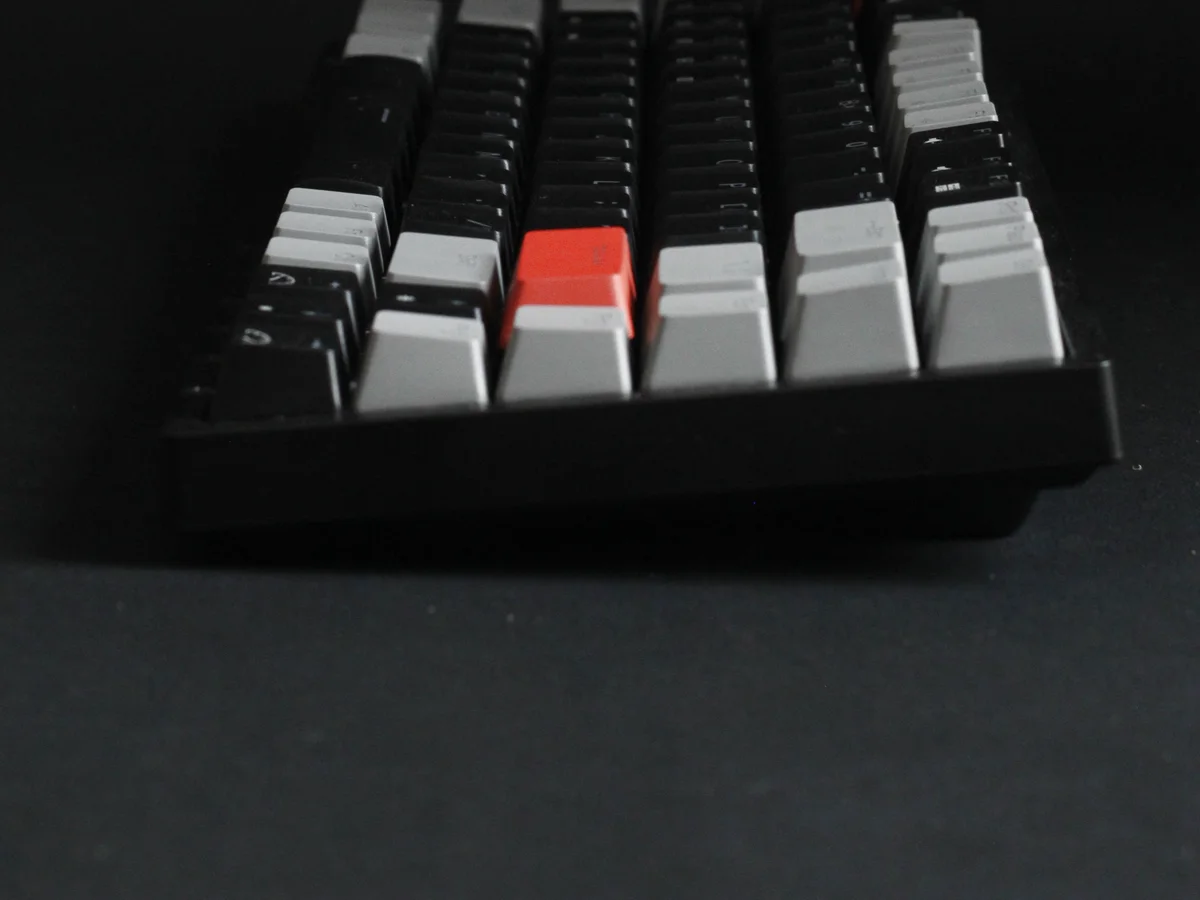
Many keyboards ship with flip-out feet that create a positive tilt, with the back higher than the front. Some people prefer that angle, while others notice more wrist extension. Start with the feet folded down and change the angle only if it keeps your hands comfortable.
A flat board is a useful default. A slight negative tilt, with the front a little higher than the back, can also suit some desks and users. Treat angles as an experiment: type for a short session, notice whether your wrists and shoulders stay loose, and keep the option that feels sustainable.
Wrist rests are resting surfaces
A wrist rest can support your hands during pauses and help bridge a height difference, but it should not force your wrists upward. During active typing, let your hands move freely instead of leaning your body weight into the underside of your wrists. Match the rest to the keyboard’s front height and width, and choose a surface that does not create a hard pressure point.
A desk mat can reduce sliding, soften desk vibration, and make the edge of the desk less abrasive. It may also change how a keyboard sounds, as described in Understanding Keyboard Sound, but it is not a substitute for a workable desk height.
Build habits, not a rigid pose
Use less force
Mechanical switches do not need to be struck as if they were buttons on a typewriter. Try a lighter touch and release the key after it actuates instead of automatically driving it into the bottom of the switch. The change may also reduce bottom-out noise. If you use clicky or tactile switches, remember that the click or bump is feedback, not a signal to press harder.
Keep hands and shoulders relaxed
Check in occasionally:
- Are your shoulders creeping toward your ears?
- Are you gripping the mouse?
- Are your wrists bent to reach a row?
- Are you leaning on one elbow or twisting toward a second monitor?
Change one thing at a time. A small keyboard adjustment, a closer mouse, or a lower chair may be more useful than buying another accessory.
Move often

- Every 20 to 30 minutes, look away from the screen and change your hand or shoulder position.
- Every 45 to 60 minutes, stand, walk briefly, or do a few gentle movements.
- Alternate tasks when possible instead of repeating one motion for hours.
- Use reminders, a timer, or natural task transitions if breaks are easy to forget.
Breaks do not need to be elaborate stretches. Gentle movement that feels comfortable is enough. Do not force a stretch into pain, tingling, or numbness.
Choose a layout that fits your work
A smaller keyboard can bring the mouse closer and reduce reaching, but compact layers may require more function-key combinations. A full-size board may be the sensible choice if you frequently enter numbers. If you need both, a separate numpad can move to the side that best suits the current task. Ergonomics is partly about matching the tool to the work, not chasing the smallest layout.
Split or tented keyboards may be worth trying if a conventional board cannot accommodate a comfortable hand position. They are not automatically better and usually take time to learn. Make changes gradually so you can tell whether the new arrangement helps.
A five-minute setup check
- Sit close to the desk with both feet supported.
- Lower your shoulders and let your elbows rest near your sides.
- Put the keyboard where your hands reach it without bending the wrists.
- Bring the mouse close enough that you do not reach forward.
- Type for two minutes, then change position and notice what feels tense.
- Adjust one variable and repeat rather than changing the entire workstation at once.
For a cleaner, more reliable desk connection, compare Cables and Connectivity. For a keyboard that feels harsh or too loud after you change your technique, Cleaning and Maintenance and the sound guide can help separate hardware from habit.
The best setup is one that supports frequent, comfortable movement and makes a light, relaxed typing style easy to maintain.